In our how to start a WordPress blog 2018 tutorial, we’ll cover the fundamentals of WordPress and show you how to get started. There are a few things to consider prior to starting your blog, such as defining your objectives, identifying your target audience or niche, and the attributes you’ll need to incorporate to ensure your blog is a success. If you haven’t got clarity on this yet, you may want to read our beginner’s guide to starting a blog, as this article will focus more on the practical steps of setting up a WordPress blog, rather than the reason for why you would want to start a blog.
There are two types of WordPress blogs, a self-hosted option (WordPress.org), or a WordPress hosted option (WordPress.com) which has limited functionality and design options as it restricts access to themes and plugins. For this reason, most bloggers will choose a self-hosted option, and for the purpose of this article we’ll go through the steps involved in setting up a self-hosted WordPress blog, using bluehost.
GET DISCOUNT HOSTINGOLSEN WORDPRESS THEME
Here’s what we’ll cover (feel free to jump ahead):
What you will need to start a WordPress blog
Once you’ve given consideration to what you want to blog about and how you’ll measure success, you’ll need to select a domain name and start to put together content for your blog. Your domain name should be something relevant and memorable. It’s a good idea to keep it short, unique, and brandable.
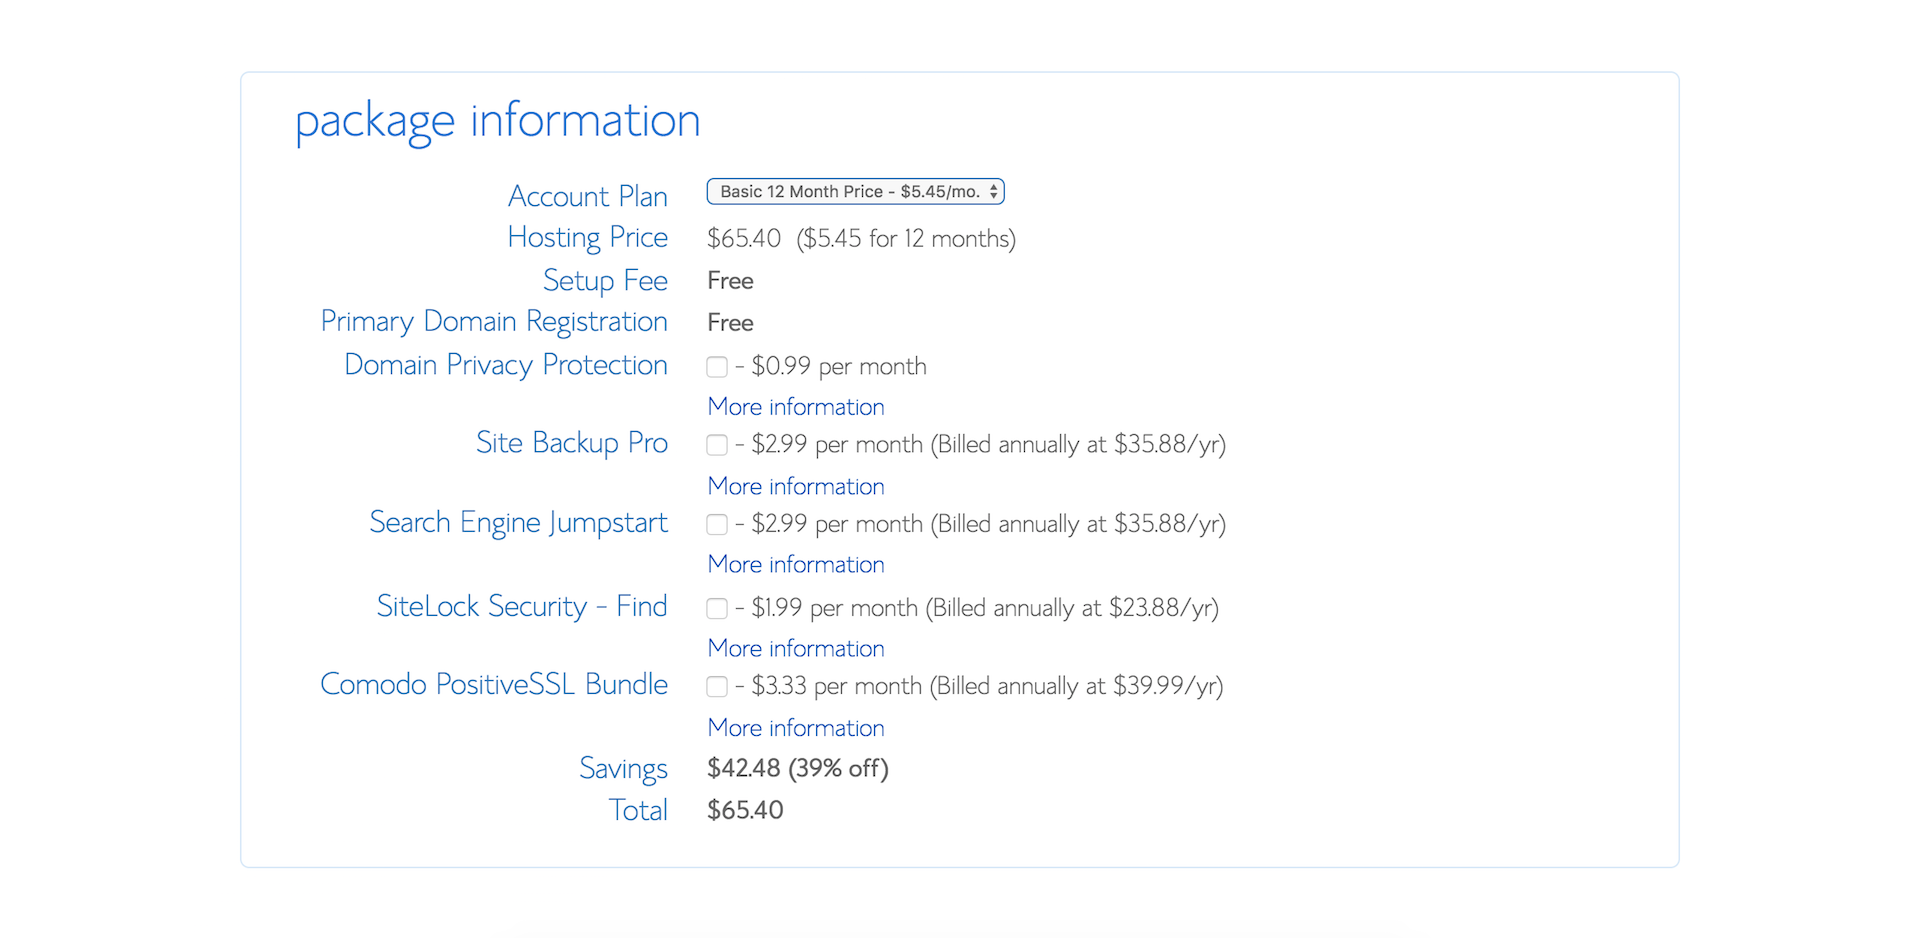
You will need to set aside a small budget (about $100 – 150) to secure your domain name, hosting, and a WordPress theme to customize your blog to your specific design style. We will go through these steps in the next five sections.
Steps to set up a WordPress blog 2018
1. Registering your domain and setting up hosting
Choosing your domain name is an incredibly important step in the process. I would recommend watching the video by Rand Fishkin of Moz on how to help select the right domain name for your blog.
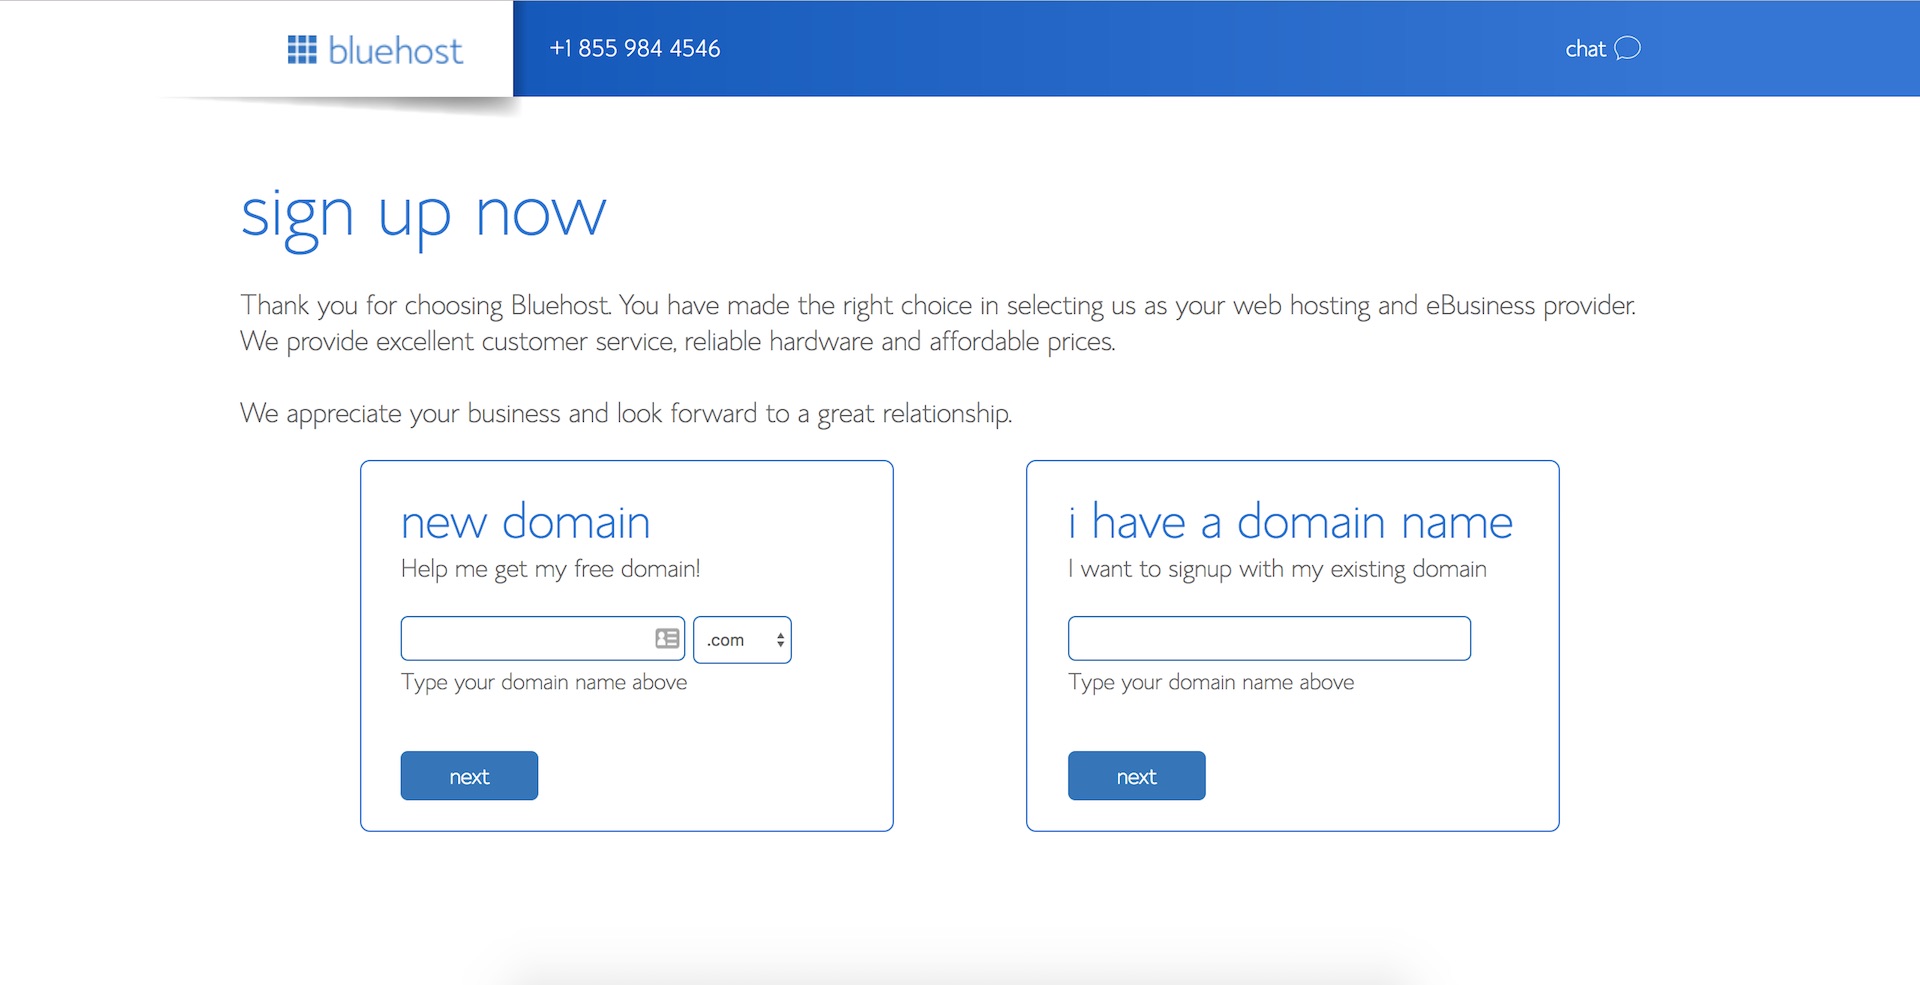
We will set up our blog domain and hosting using Bluehost (access discount hosting and free domain with this link). As part of the OHKLYN community you will get access to discounted hosting, and a free domain. The free Bluehost domain extensions included are (.com, .online, .site, .website, .space, .tech, .store, .net, .org, .info, .co, .us, .biz, .club).
If you want a specific top level domain (TLD) or country specific domain not listed above, you will need to purchase it through a domain registrar like GoDaddy or CrazyDomains. You will also need to change the domain nameservers or (DNS) records to point at Bluehost’s servers. Here are the steps on how to change domain nameservers to point at bluehost.
To get started, follow this link to the Bluehost website, and click ‘Get Started Now’.

2. Installing WordPress for your blog
One of the reasons we love Bluehost is their easy to use One-click WordPress installation feature. In September 2017, Bluehost made the process of getting started with WordPress even easier. For new domains, WordPress is automatically installed for you so you can start building your site right away.
Steps to getting started with WordPress via Bluehost
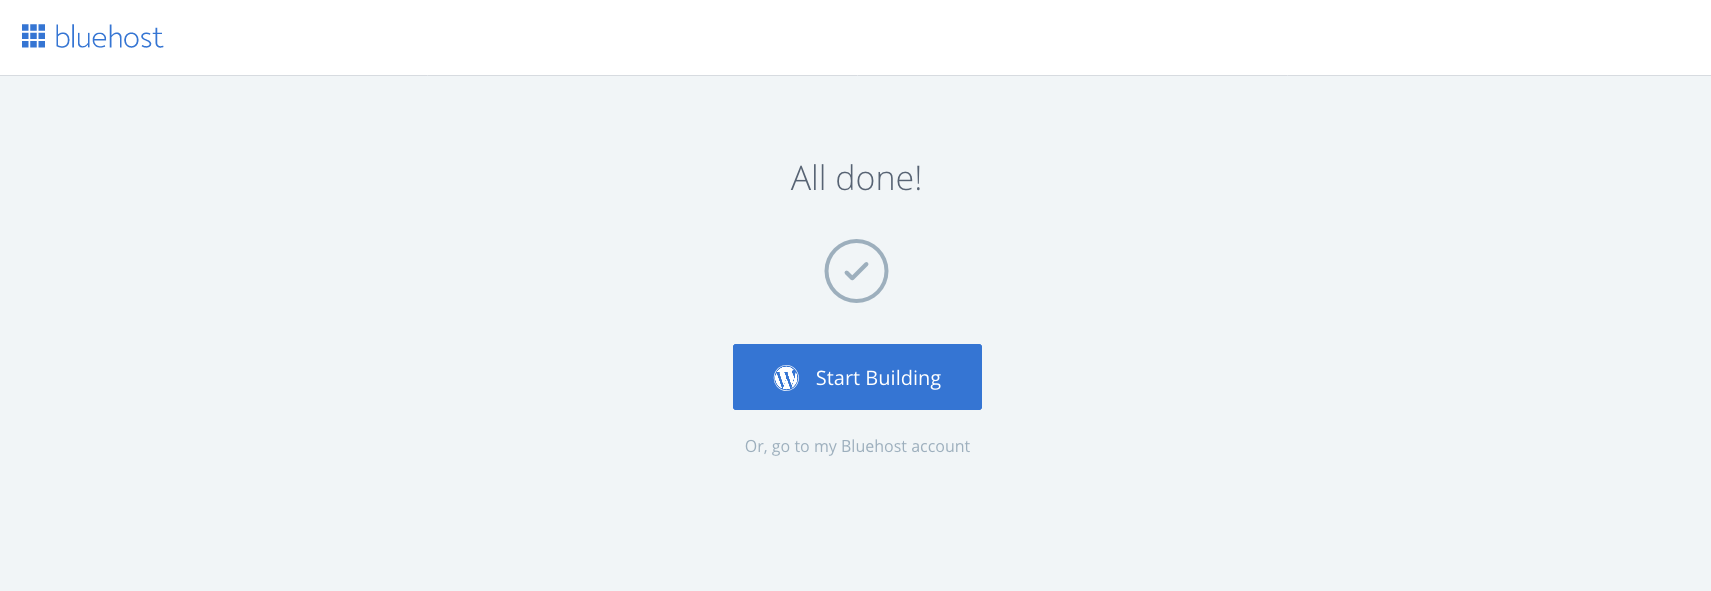
- When you see the ‘Congratulations’ message, click on login.
- You will be sent a verification email to the nominated email address for the account, which you will need to confirm.
- You can then set your password for you hosting account.
- Once you’ve done that, you will then be given the option to either ‘Start Building’, which will take you to the backend of your WordPress dashboard, or you can select to go to your Bluehost account.
Install WordPress for an existing domain via Bluehost:
If you’ve purchased your domain elsewhere, you will need to change the DNS records for your domaian via the domain registrar where you purchased your domain. Check out one of our detailed tutorials that walk you through this process:
- How to change GoDaddy nameservers to point at Bluehost
- How to change Domain Name Server (DNS) records to point at Bluehost
Congratulations! Once you’ve done that you’ll officially have a blog! In the next few steps, we’ll go through how to customize your blog design and how to add content.
3. WordPress overview for beginners
The popularity of WordPress in recent years has been largely driven by its intuitive user interface. However, there are still a few things that you’ll need to wrap your head around in order to get the most out of the platform.
Below, we’ve outlined the core features of WordPress and how to use them effectively. For a more in depth look at each element, watch the video below or read our Introduction to WordPress article which goes through each of these in more detail.
Pages – Pages in WordPress are used for more permanent and timeless content that is likely to remain relevant for a longer period of time – For example, a homepage, about, contact, or an FAQ page.
To create a new page, go to your WordPress dashboard and click ‘Pages’ > ‘Add new’, or click on the ‘+ New’ icon at the top and select ‘Page’

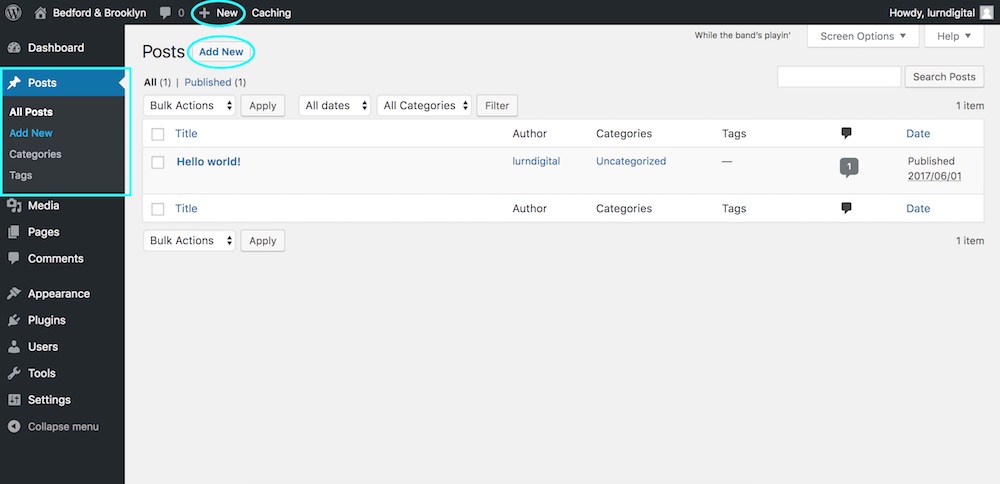
Posts – Unlike pages, posts are used to publish any ‘blog content’ and typically associated with a category or grouped within a specific topic. By default, posts displayed are pulled into a homepage or blog page in reverse chronological order with more recent and relevant content visible immediately for users.
To create a new post, go to your WordPress dashboard and click ‘Posts’ > ‘Add new’, or click on the ‘+ New’ icon at the top and select ‘Post’
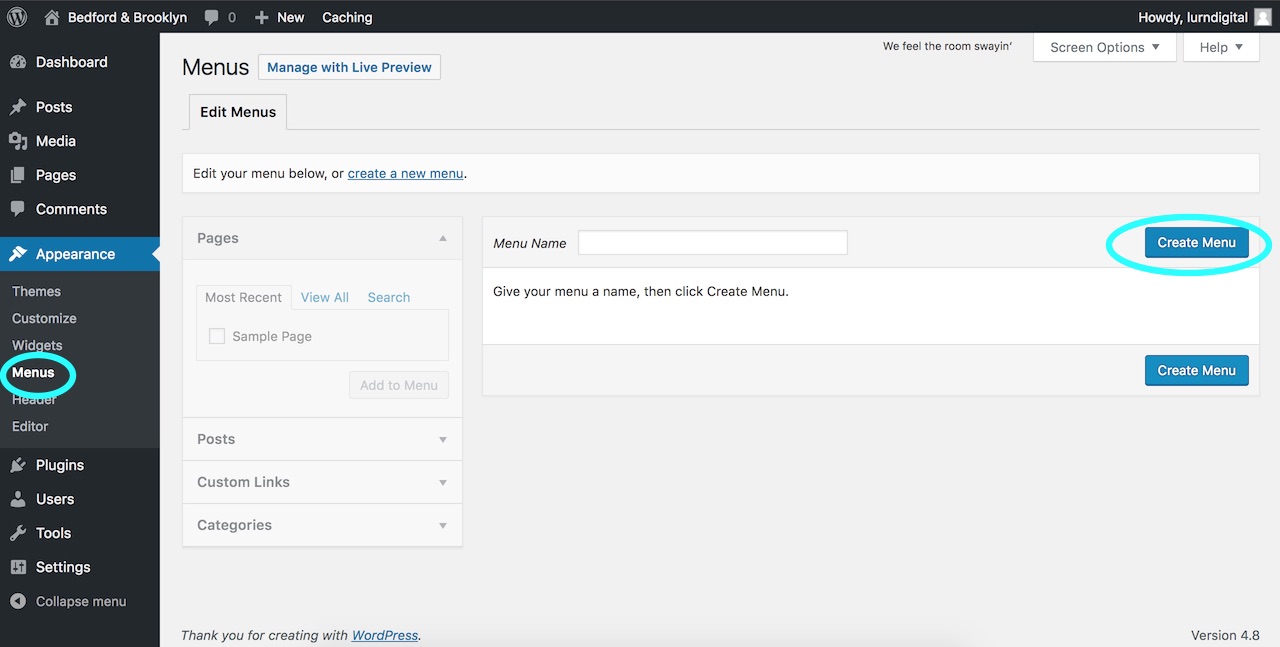
Menus – Menus are the primary vehicle for users to navigate through your WordPress blog. By default every theme will have a primary navigation menu, however, many themes will provide you with the option to have multiple menus, as well as mega-menus which are very popular in fashion, beauty, and lifestyle blogs.
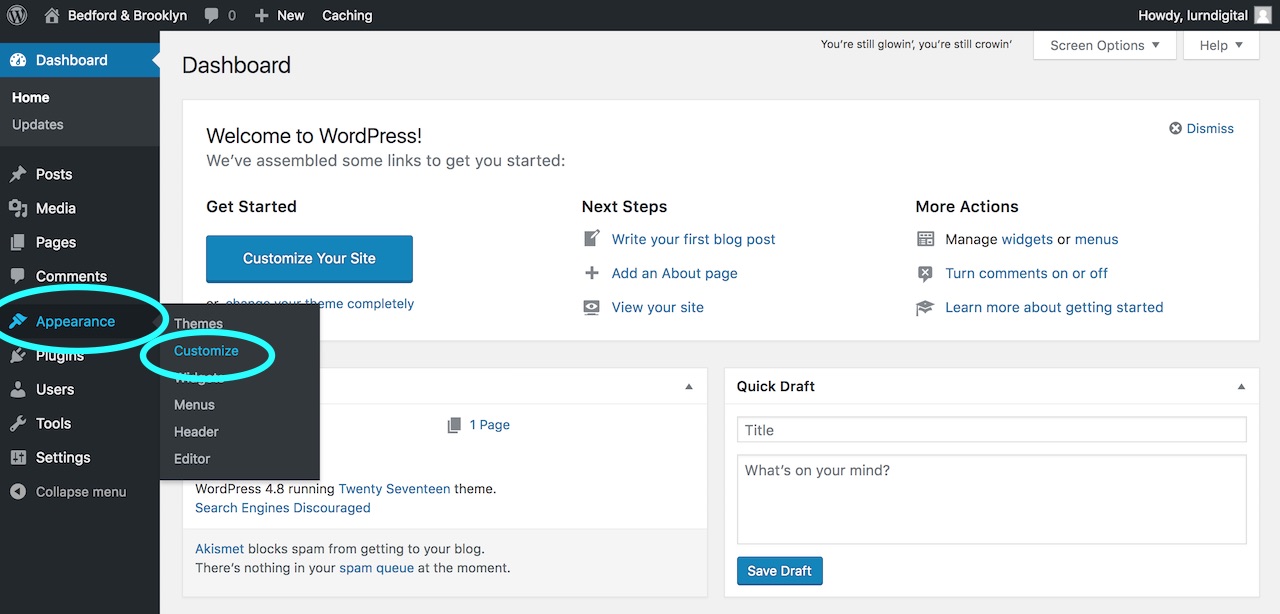
You can create a menu by navigating from your WordPress dashboard to ‘Appearance’ > ‘Menus’ or by navigating to the menus tab under ‘Appearance’ > ‘Customize’.
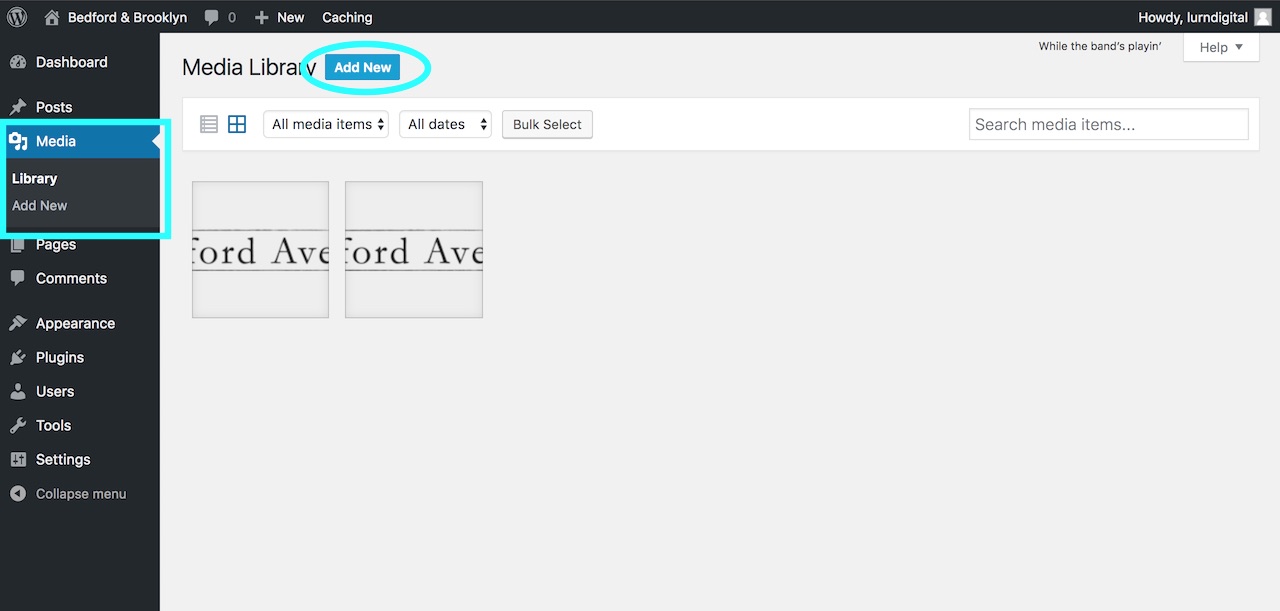
Media -The media section of WordPress is where you upload all your images and other assets. It is recommended that you avoid uploading videos to your WordPress media library. Instead, use a video hosting service like YouTube or Wistia, as hosting videos on your WordPress host will drain your resources.
To upload media, go to ‘Media’ > ‘Add new’ and either select the files from your computer or simply drag and drop them into the library. Try to keep image files as small as possible (typically no larger than 500kb) as larger files will slow down your blog’s page load speed.
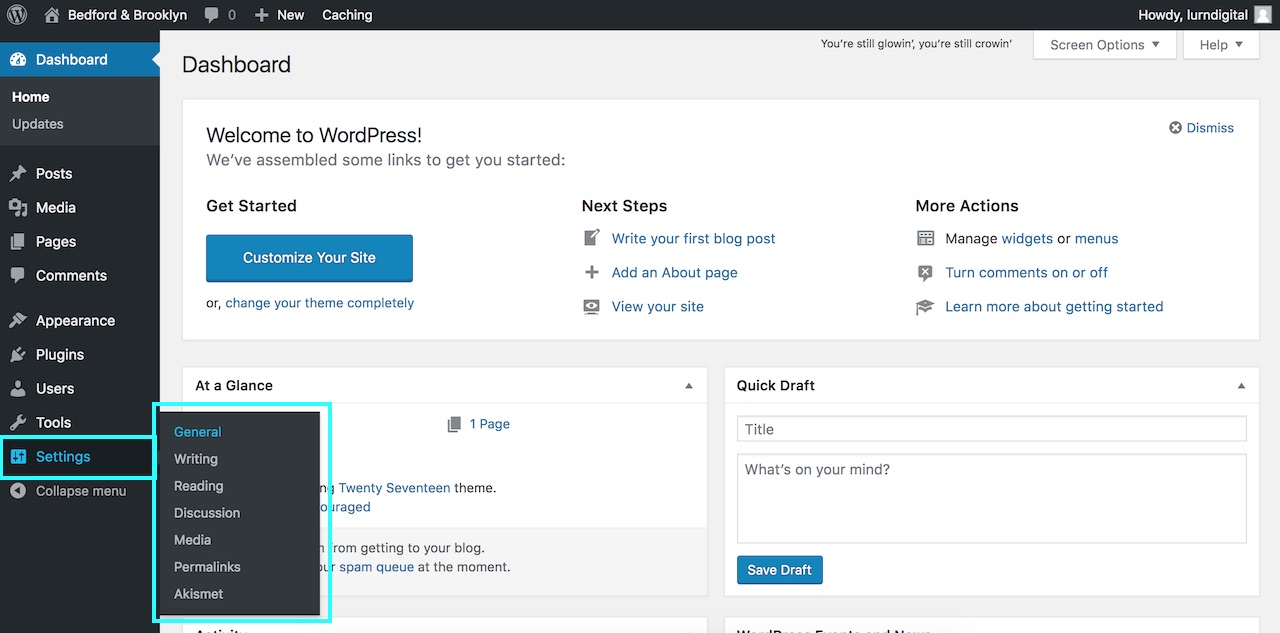
WordPress settings – WordPress settings control the global settings for your WordPress website and is broken into six components:
- General: Here is where you set your site name and tag line, assign an admin email account for your blog, and set the language and timezone for your blog amongst other things.
- Writing: The writing settings allows you to set a default post category and post format for your blog posts. You can also enable the ability to post to your blog via email.
- Reading: From here you are able to set the homepage for your blog, adjust how many posts are displayed on index pages, and most importantly toggle on and of the visibility of your blog to search engines.
- Discussions: This is where you manage how and when comments are displayed on your site and how users can interact with comments. These will change depending on your preference.
- Media: You can amend the default image sizes that are created by WordPress anytime you upload an image. Generally these settings won’t need to be amended. If it’s required, your theme documentation will advise you on the appropriate settings.
- Permalinks: These relate to how permalinks or urls are created on your website. By default this is set to day and name to reflect a journal, however I would recommend changing this to ‘Post name’, as it will clean up your url string to represent the post name. This is the most common option, and is arguably a preferred option from an SEO perspective. Set whichever you want, but try not to change this later as it will break your url links.
To learn more about each setting, review our Introduction to WordPress for beginners article.
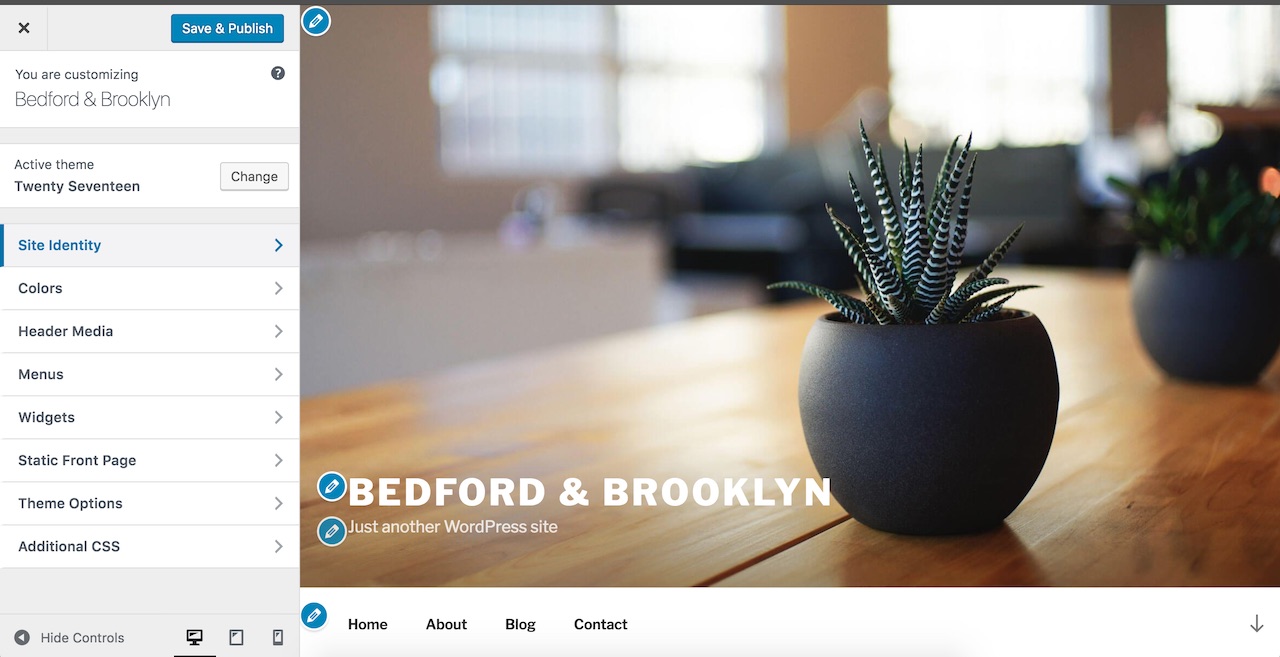
Theme settings / customizer – Although the theme customizer settings will be different for every WordPress theme, how you go about customizing your blog will be similar.
You will access your theme customizer settings one of two ways – Either via the ‘Appearance’ tab by selecting the ‘Customize’ option, or by clicking on the theme specific settings tab that would have been added when you uploaded and activated your WordPress theme. We will cover this off in the next step.
4. Choosing and uploading your WordPress theme
Once you’ve got WordPress installed and you’ve familiarized yourself with the WordPress dashboard and its primary features, it’s time to select and upload your WordPress theme.
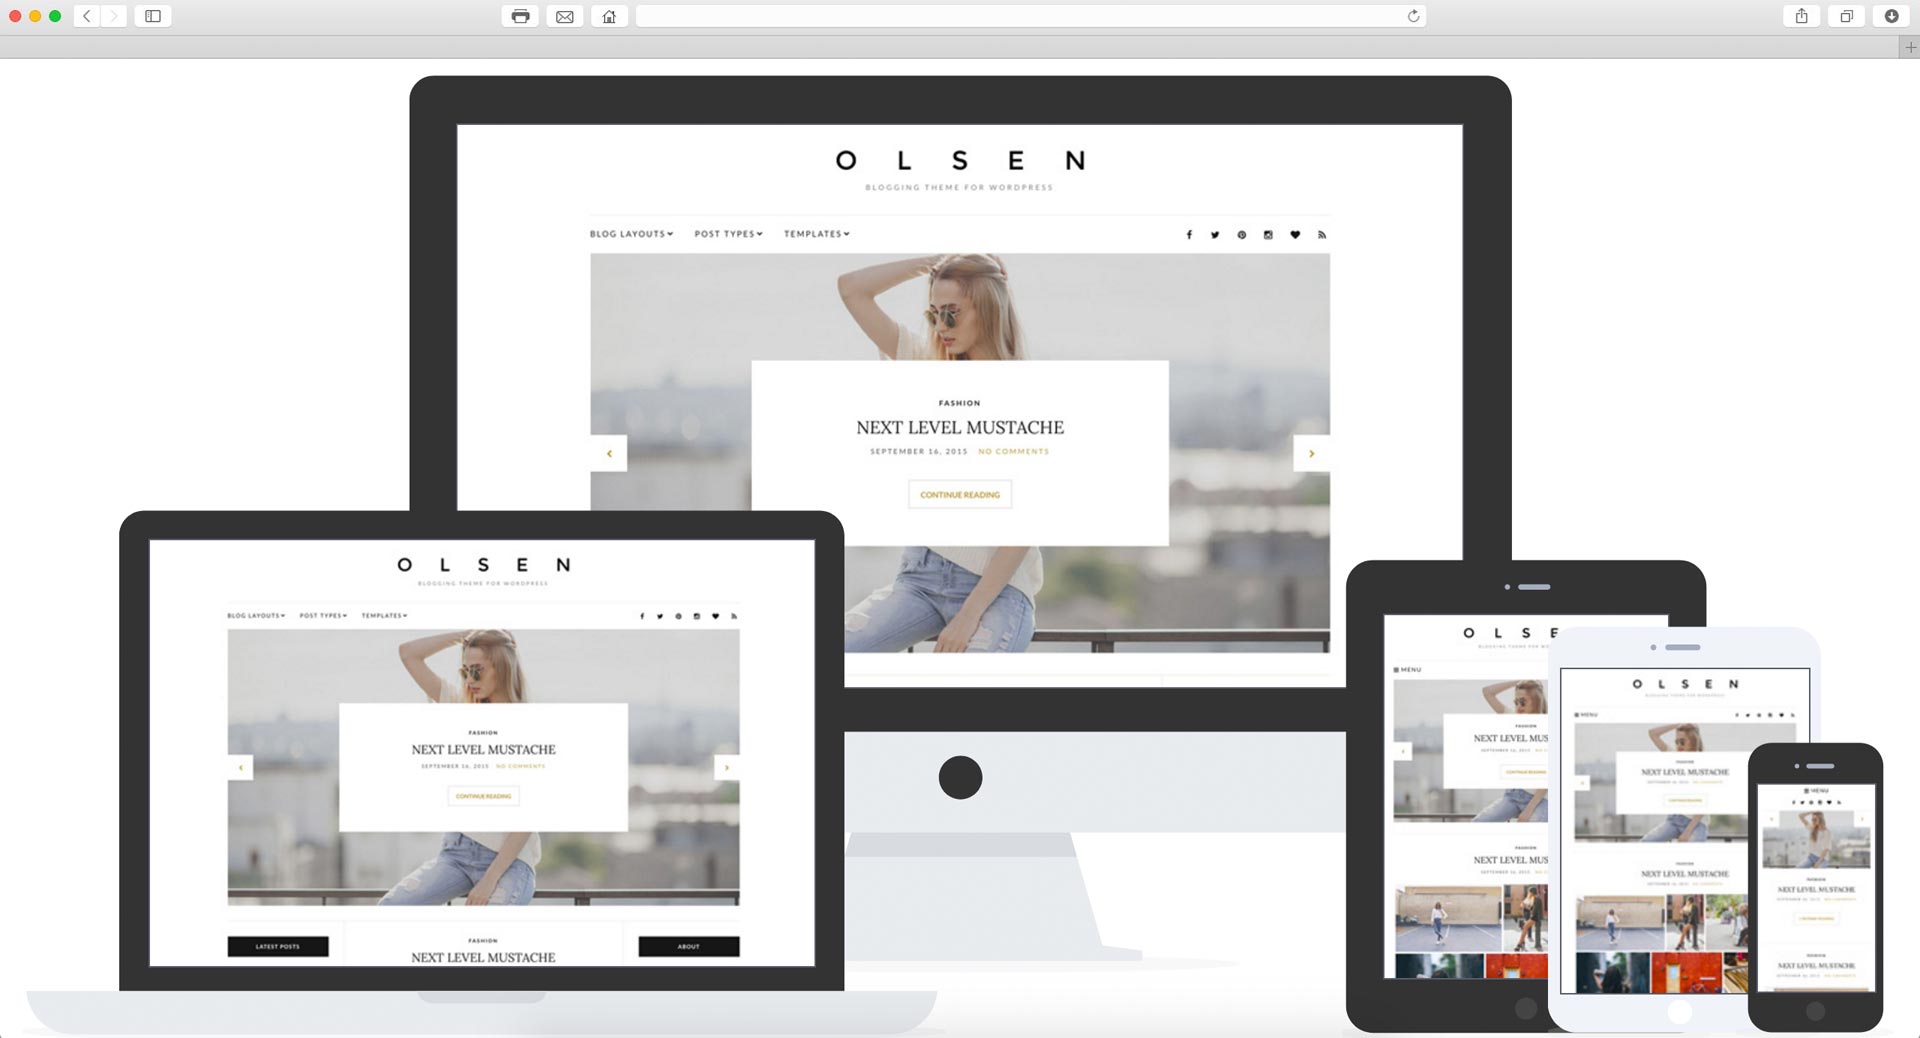
What is a WordPress theme? A WordPress theme is a collection of files that integrate with the core functionality of WordPress, enabling you to customize the look and feel of your WordPress blog to suit your design style.
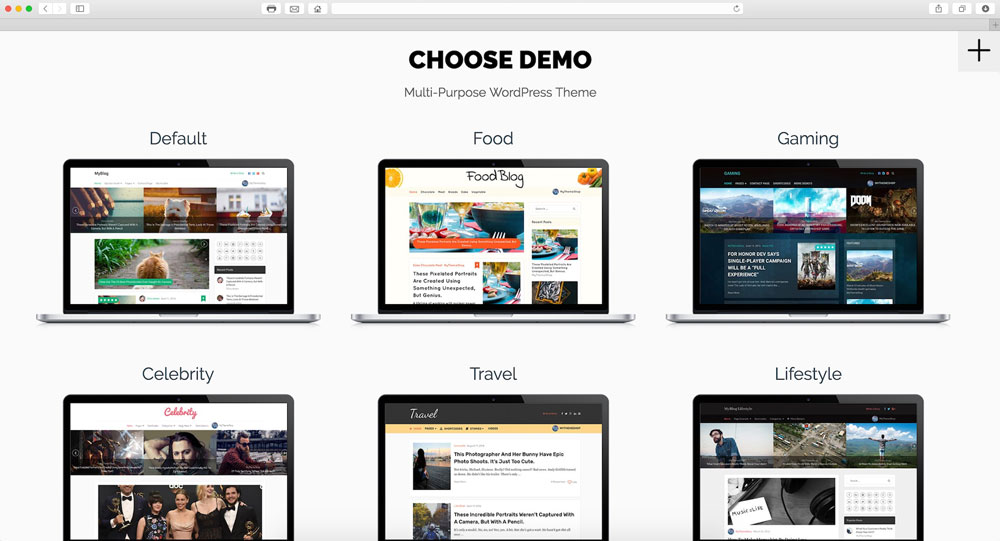
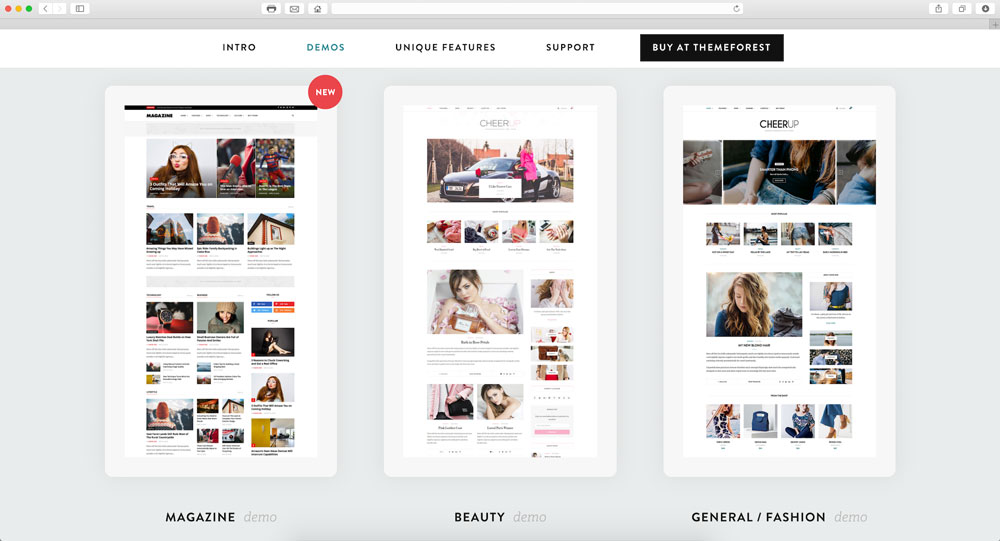
We’ve evaluated hundreds of WordPress themes to help you make the decision easier for you. You can access the findings of our WordPress theme reviews is the following blogs:
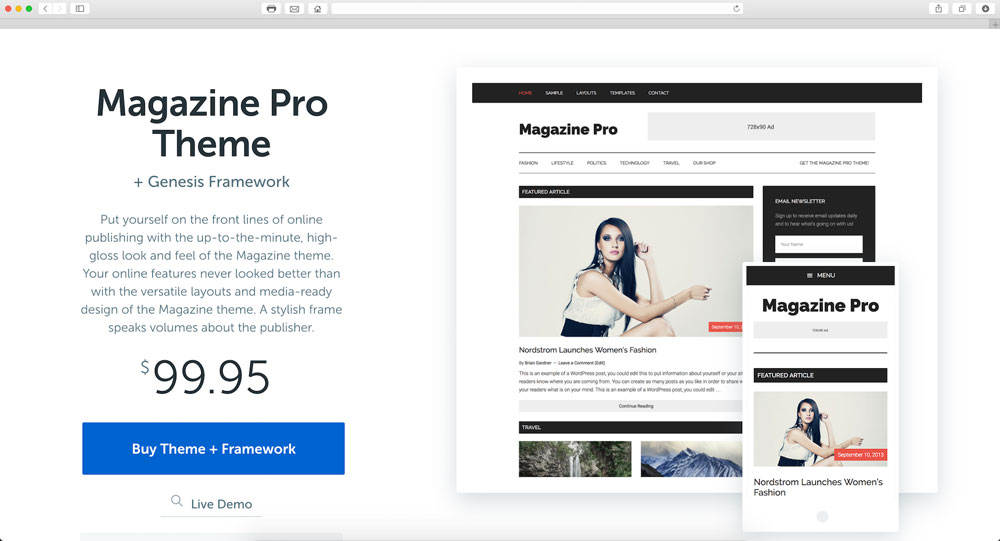
Alternatively, we would recommend one of the following five themes:

Steps to install a premium WordPress theme
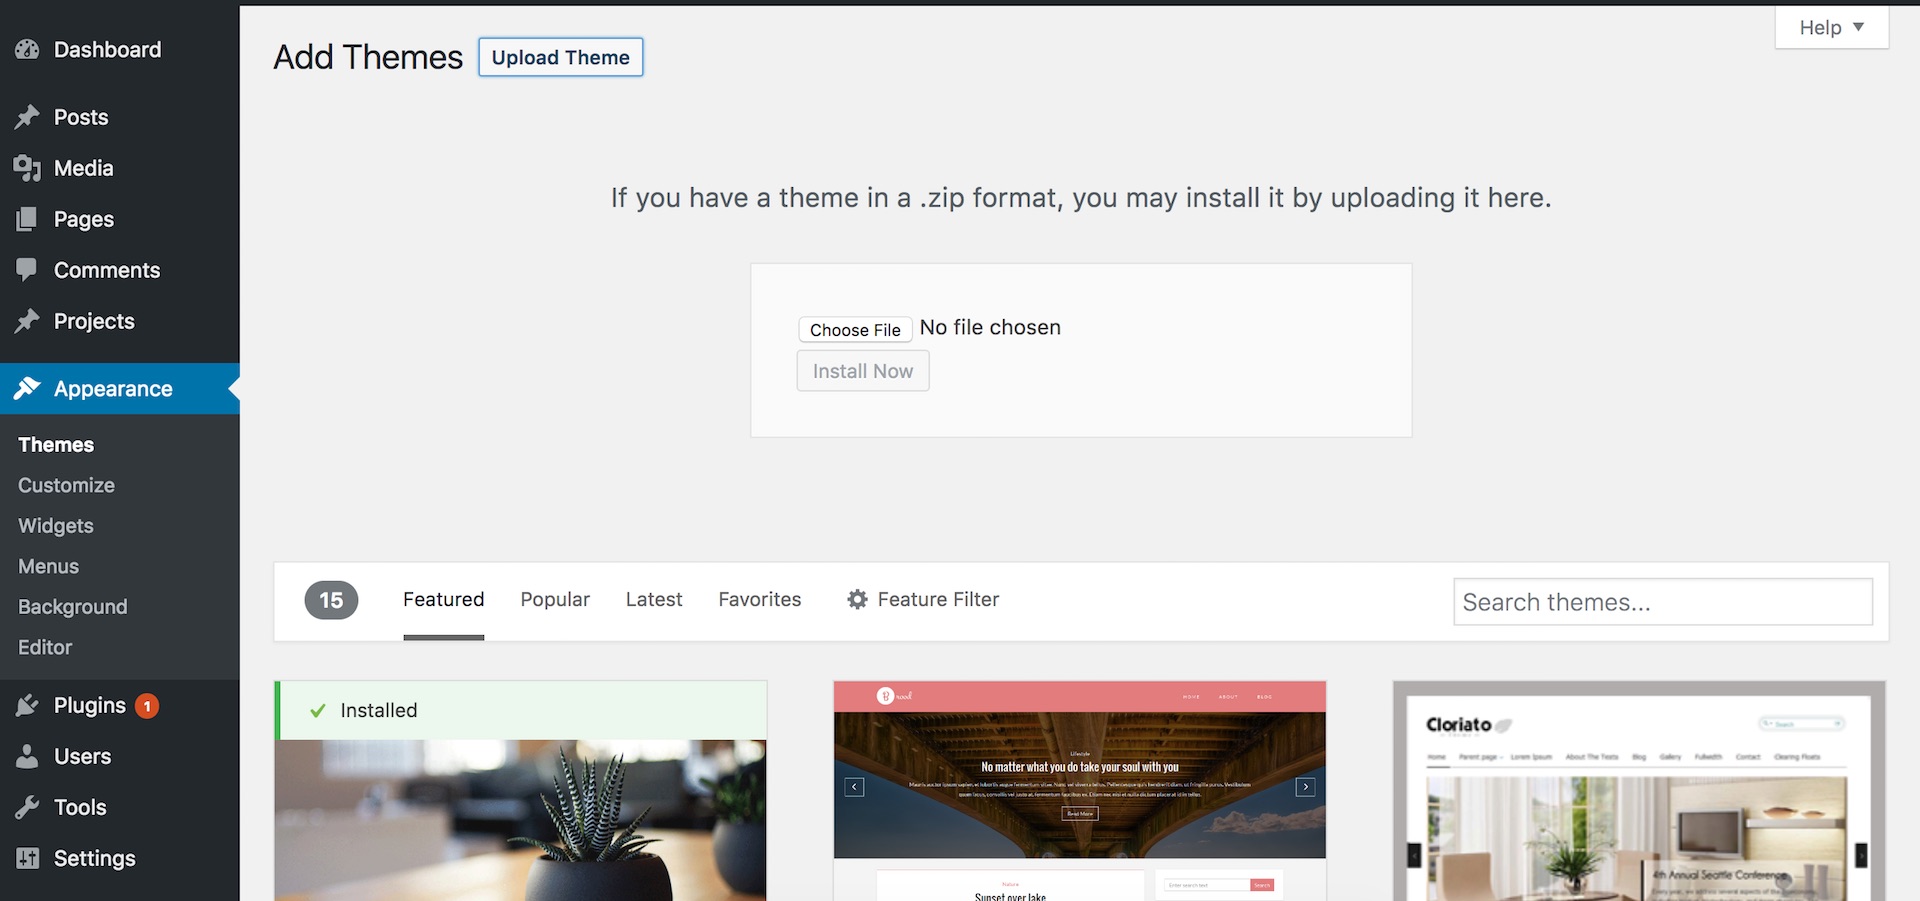
Once you’ve purchased your WordPress theme and downloaded the theme.zip file, we can upload it via your WordPress dashboard. To upload you theme:
- Keep the file zipped and navigate to ‘Appearance’ > ‘Themes’.
- Select ‘Add new’, then click on ‘Upload theme’.
- Choose the theme.zip file and select ‘open’, then ‘Install now’.
- Once your theme has uploaded successfully, select ‘Activate’ and you’re all set.
5. Customizing your WordPress blog
The value in choosing a premium WordPress theme over a free WordPress theme is that you will get access to theme documentation which will walk you through the specifics of how to customize your WordPress blog. This will either be in the form of text and images, or videos. The other benefit to choosing a premium theme from one of the providers listed above is that you’ll get access to 24/7 support which is great, particularly if you’re relatively new to WordPress. So, go through the theme documentation and reach out to support if anything is unclear.
By now you’ll be ready to upload content to your WordPress website. We’ve covered off how to create pages, posts, and menus as well as how to upload images and assets to your blog. If you want to include quality stock images in your blog, check out some free image resources like unsplash, pexels, canva, or if you want more specific images, you can try shutterstock or depositphotos.
We’ve covered off a lot so far and hopefully you’re in the process of setting up your new blog. If you want to learn more about the process of building a website or blog with WordPress, feel free to explore one of our free WordPress tutorials and sign up to the OHKLYN newsletter to stay up to date with the latest how-to guides and free tutorials. Happy blogging!