Tips for Starting a blog in 2018
I’m of the opinion that before we embark on any new endeavour, it’s always good to begin with the end in mind, and examine the reasons that inspire us to take action. In this beginner’s guide to starting a blog 2018, we’ll go through the fundamentals of starting your blog with bluehost, the steps involved, and the things to be mindful of.
First things first: Understand your ‘why’. This includes taking a moment to identify what excites you about starting a blog, as well as clarifying your expectations around the results you want to achieve. In this step, be honest with what you’re willing to commit to the process (time, money, mental energy, etc), as doing anything well requires effort; often a time and money investment, and a willingness to learn new things.
Starting a blog is a great idea, and some of the more common drivers for doing so include:
- Having a creative outlet, or your own little slice of the web that echoes your voice, your views, or the views of your alter ego.
- A canvas for showcasing your talents or truths. Build your brand and credibility. Show me, don’t tell me – a blog is great for this.
- Learn to become a better writer, digital publisher, digital marketer or designer. A successful blog requires some skills, and these will improve over time.
- Generate an income. Whether it’s a few hundred dollars a month, or a few hundred thousand dollars a month – there are blogs that are doing both.
Obviously, the list above isn’t exhaustive, however, take some inspiration from it and get clarity on your ‘why’. Understand what’s really driving you to start your blog – and try to be honest with yourself. Taking a moment to consider this upfront, will make the process much easier and improve your effectiveness in the long run.
How to start a blog in 4 steps
- Register your domain + set up hosting. Check out bluehost or WP Engine. We go through this step by step using bluehost in this article.
- Install WordPress and upload your WordPress theme. For quality WordPress themes check out Elegant Themes, Tesla Themes, Themeforest, Themeisle, Studio Press, Template Monster, or Themify
- Create unique and compelling content. Regardless of your niche, great content always wins! Check out some free high quality image resources like Unsplash or Pexels to enhance your blog content.
- Publish your content and customize your blog. Upload and publish your content through your WordPress content management system (CMS). Consider leveraging a newsletter sign up or additional plugins to enhance the user experiences.
Top features for a blog in 2018
Now I’ll provide a few suggestions on the types of features you should consider including in your blog, based on the most successful blogs in 2017. However, this is really up to you, and I would encourage you to strongly consider the user experience for your blog, and the types of content and features that will optimize this experience. Some of the most common features for blogs in 2017 include:
- Great design. Yes, ‘great’ is subjective, but your blog should be a reflection of you, so consider what great design is to you, and find ways to incorporate it into your blog.
- Great content. Okay, so this isn’t any revelation, but it’s incredibly true. You are entering into the content marketing business (like it or not), and the most telling factor on how successful you’ll be, is the level of engagement you get from your content. Quality, engaging content will be the catalyst for your blog’s growth – hands down, or up. I’ll leave that to you.
- Social sharing. A successful blog, and social media engagement are synonymous these days. As such, you should look for ways to easily encourage and facilitate social sharing of your blog content. Leverage tools like Monarch social sharing.
- Newsletter sign up form. All great blogs include a newsletter sign up form. Why? Because your readership list is your greatest strategic asset. Checkout tools like Convertkit, AWeber, AgileCRM, MailChimp to name a few.
- Advertising. To help fund the expenses of your blog, or help generate an additional income stream, consider leveraging Google Adsense, or partnering with some companies that offer affiliate programs related to your niche.
The list above is based on the commonalities of some of the top performing blogs in 2017, use it as a guide and give some thought to how they relate to your objectives. Consider, what your visitors will want to see on your blog, and try to anticipate how they will want to engage with you, and your content.
Starting a blog – Step by step
At this stage, you should have considered why you’re starting your blog, and have given some thought to the user experience, features and content for your blog. In this section we’ll go through the steps of how to actually start your blog. To do this, you will need the following:
- A name for your blog, and an idea of the domain name you want to use (i.e. www.yourblog.com). We will use bluehost to start our blog, I recommend bluehost as they provide a free domain name, are reliable, very well priced, and have great support for beginners.
- A small budget. I mean really small, you’ll be able to start your blog for about $150. I’ve spent more on a bad night out (in fact…on a number of occasions). This will include your domain, your first year of hosting, and a premium WordPress theme. What’s even better, your only ongoing cost is hosting, which through bluehost is around $5/mth.
- About an hour or two. Starting a blog, as you’ll see in the steps below, is really quite straight forward. We’ll be able to have you up and running in about an hour or so. If you prefer to watch a video, checkout one of our free wordpress tutorials.
Step One: Domain & Hosting
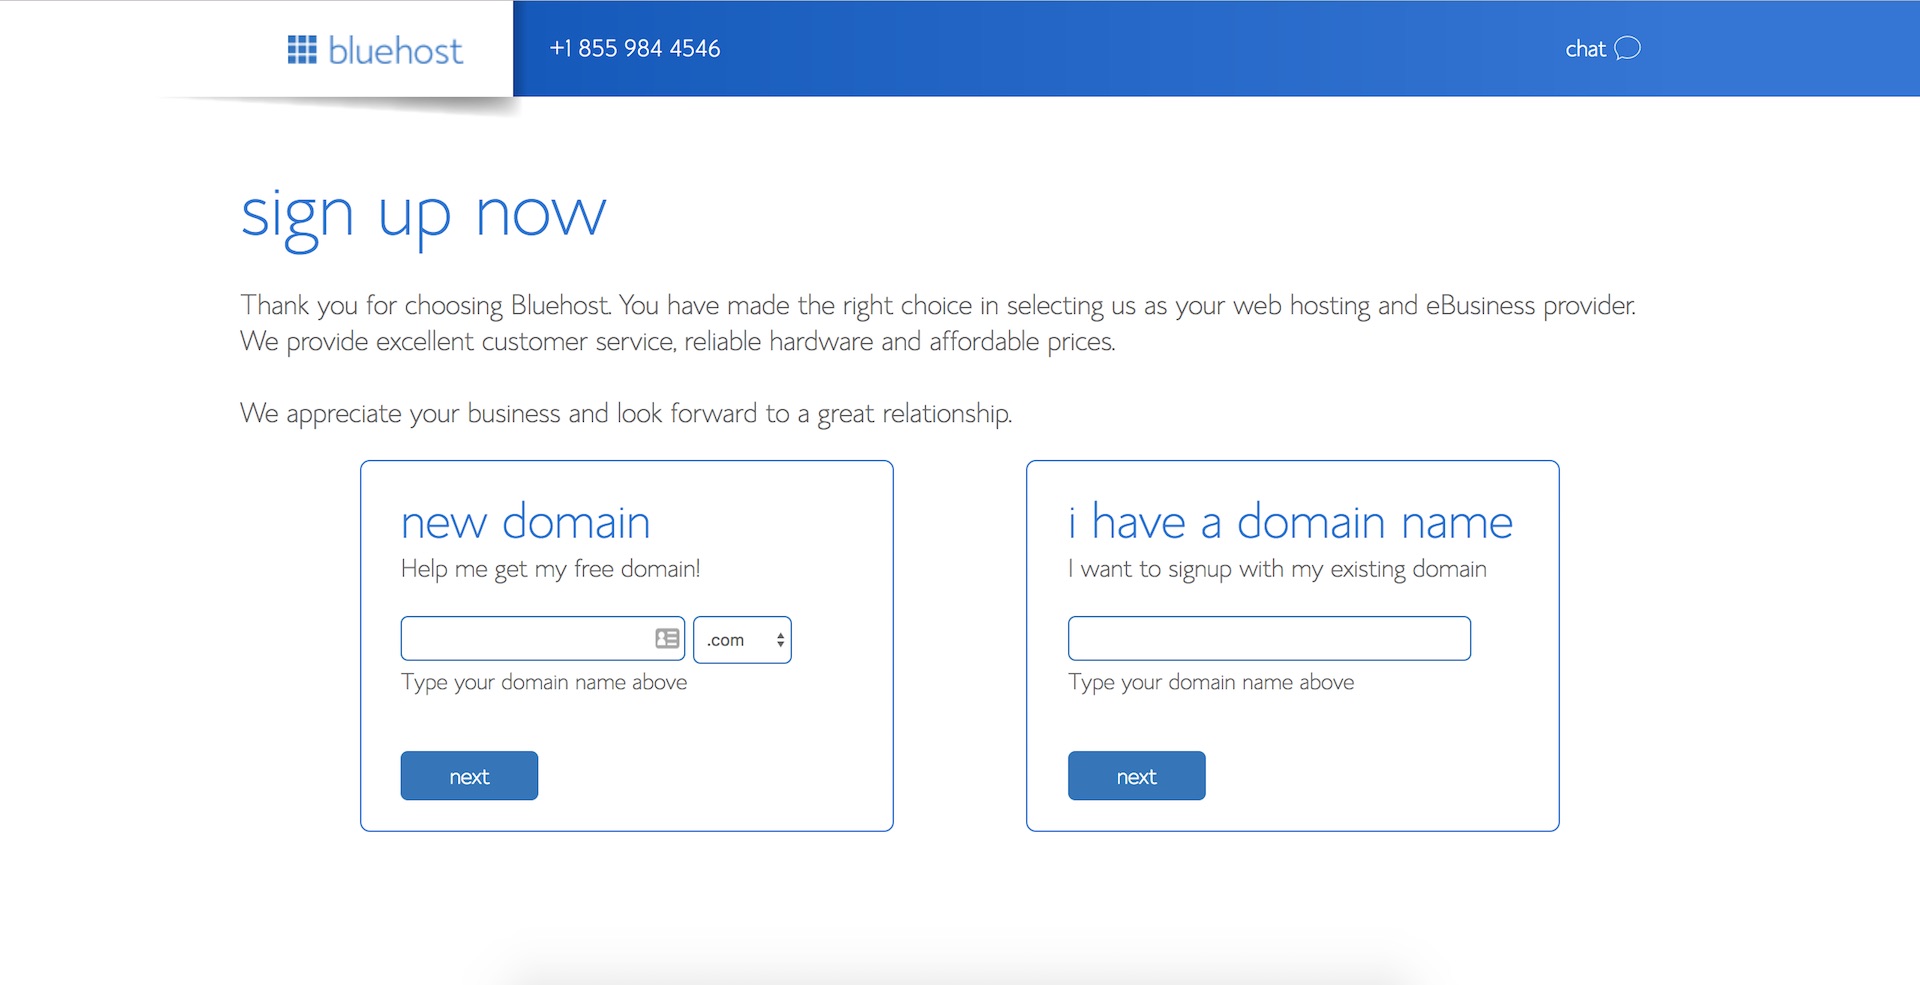
To get started, follow this link to the bluehost website, and click ‘Get Started Now’. This will give you access to discount hosting and a free domain.

Your next step is to select the plan that’s right for you and then choose your domain name by entering it into the new domain field. The good news is that it’s free. If you’ve already purchased your domain name, enter it into the transfer domain field.
Only if you purchased your domain elsewhere, you will need to change the nameservers to point at bluehost, to do this Google ‘how to change the DNS record for xyz domain provider’, or contact your domain registrar and ask them how to change the DNS records for your domain (they will know what you mean, incase you don’t) to point to:
- ns1.BlueHost.com | 74.220.195.31
- ns1.BlueHost.com | 69.89.16.4
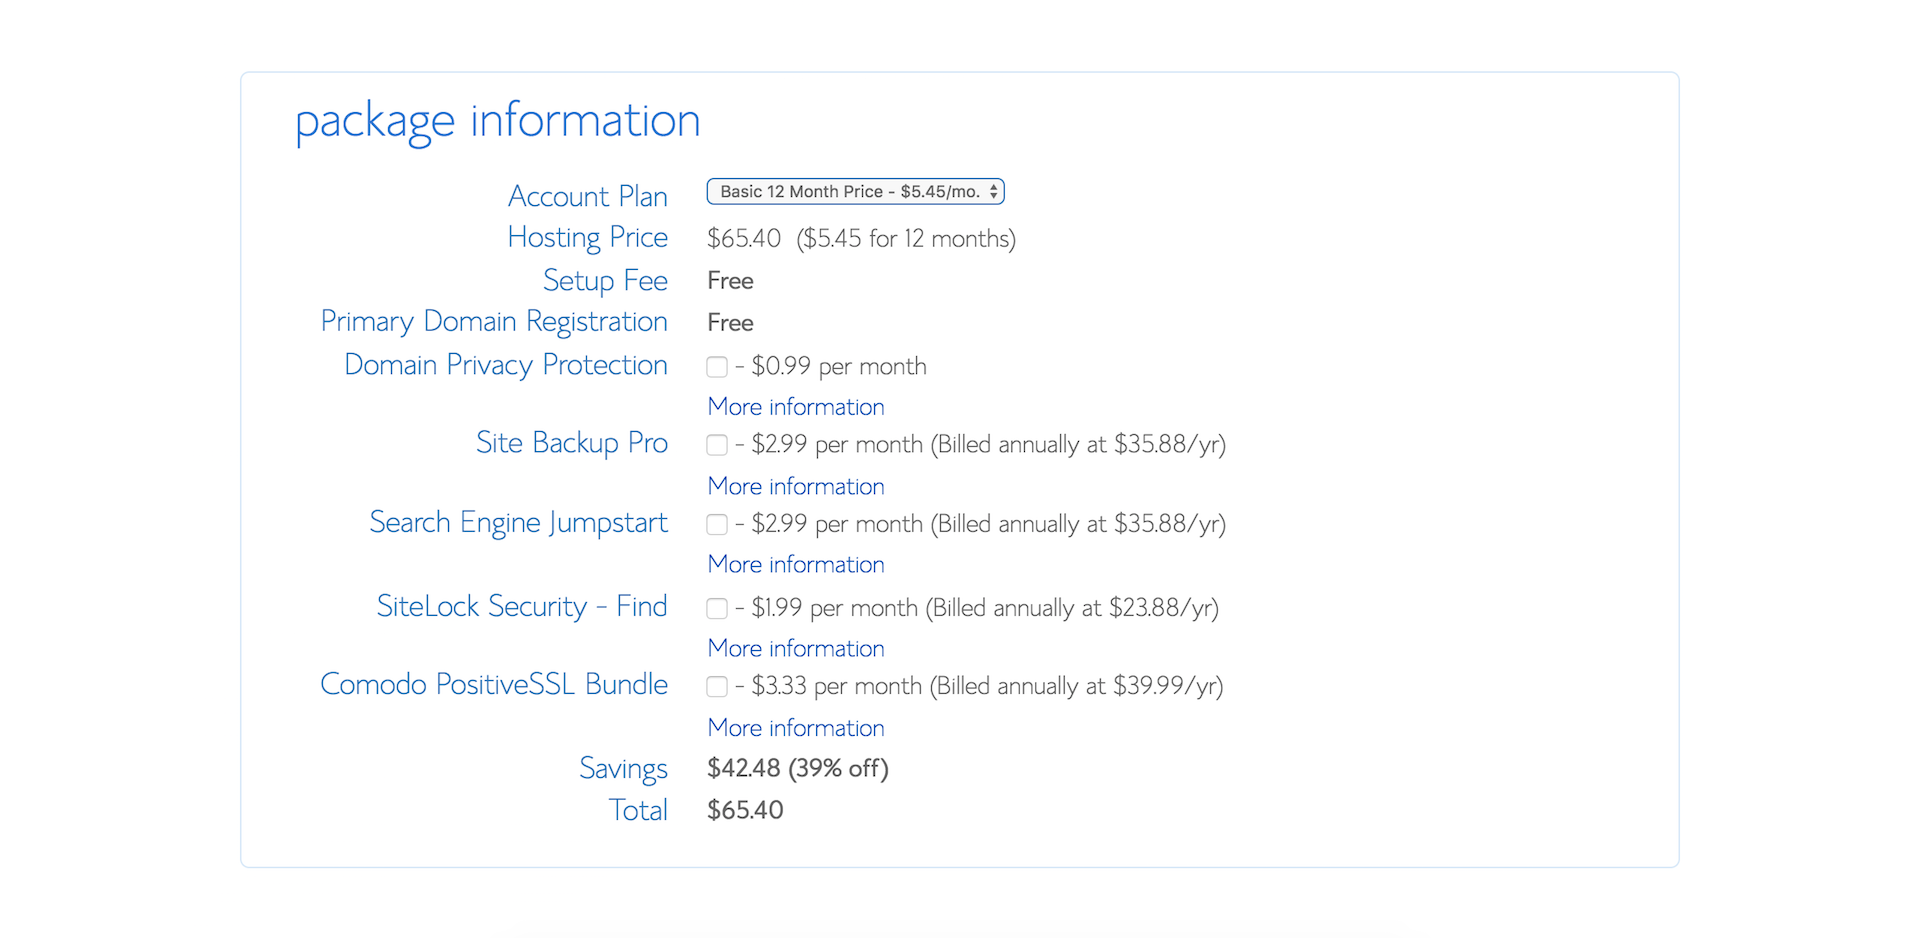
Once you’ve chosen your domain, select your term and domain add-on preferences, enter in your personal information, method of payment, and click ‘Next’ to confirm your purchase.
Congrats! You’re on your way to starting your very own blog. You will be prompted to create a password, make sure this is secure. To assist in this, you can use the password generator. Once you’re logged in to your bluehost dashboard, we can move on to installing WordPress.
Step Two: Installing WordPress
One of the best things about bluehost, is their One-click WordPress install. In this step we’ll go through how to install WordPress using the One-click install, if you’d prefer to watch a video, check out one of our free WordPress tutorials.
Here are the steps to install WordPress:
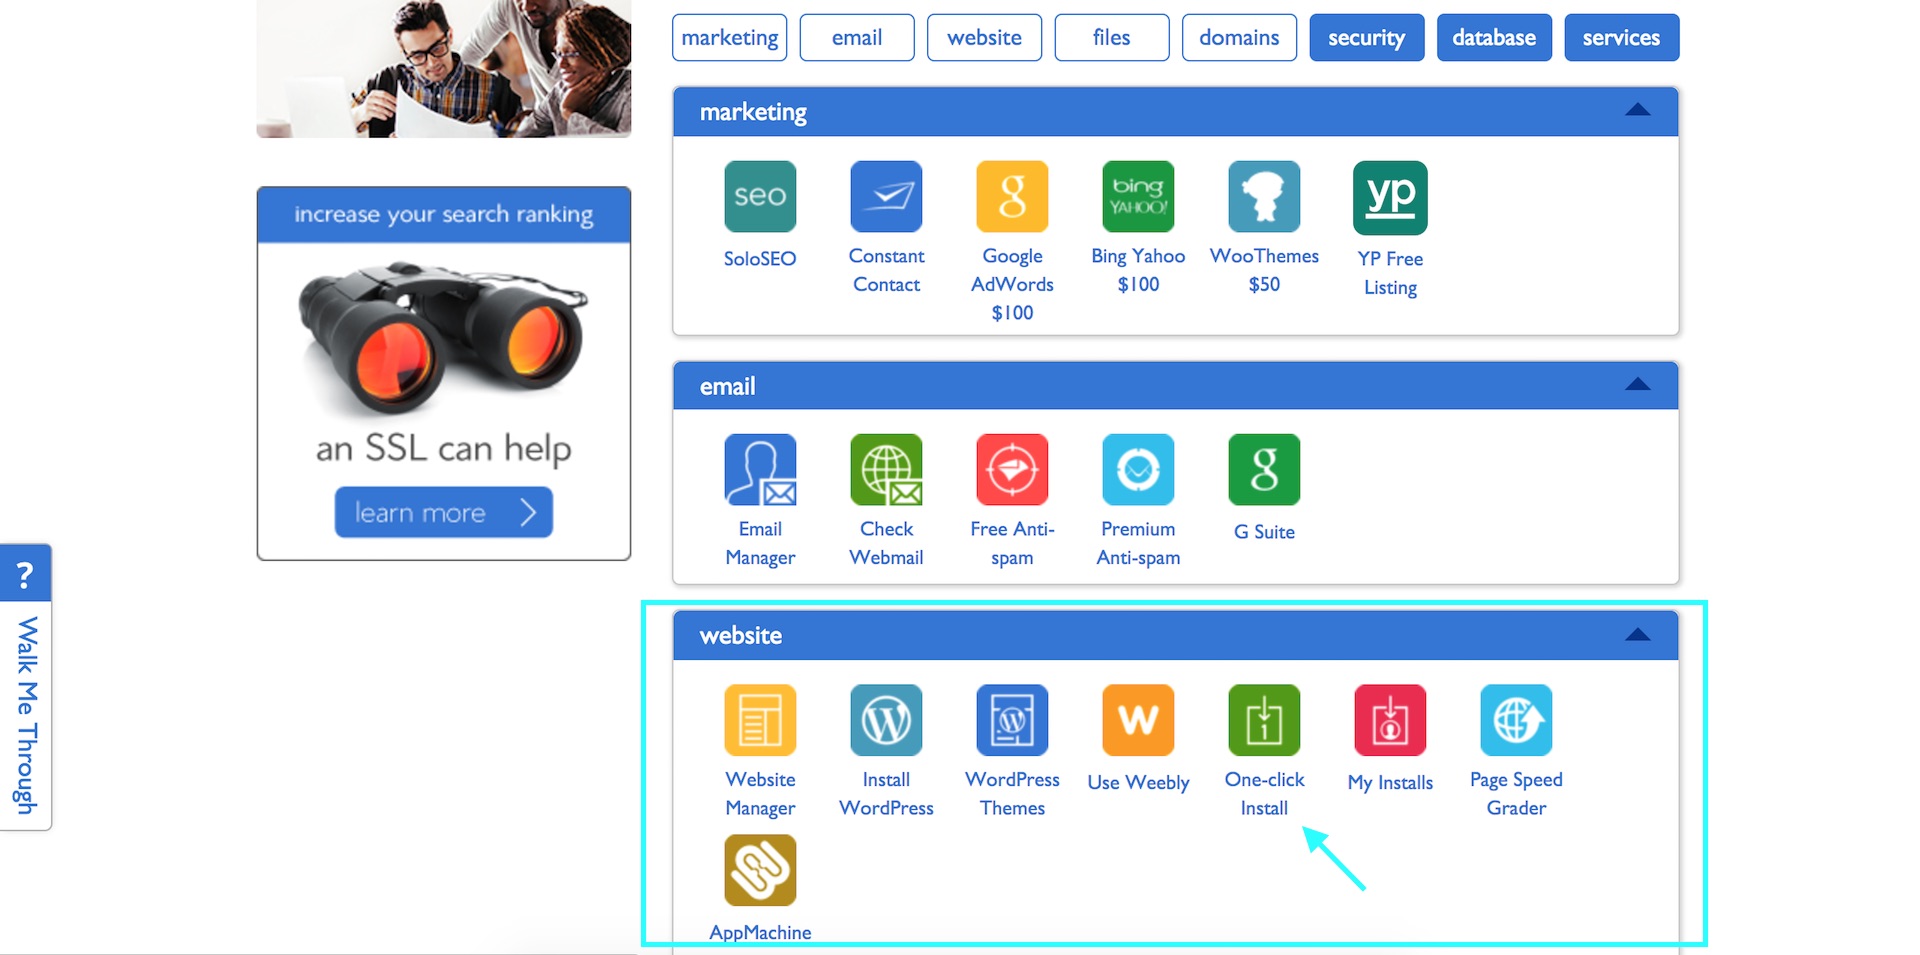
- From your bluehost dashboard, scroll down to the ‘Website’ section and select ‘One-click Install’.
- From the ‘Blogs & Website Builders’ section, select ‘WordPress’.
- Under the ‘Do it yourself’ section, select ‘Install’.
- Select your domain, and click ‘Check domain’.
- If you get an error, you may need to wait for an hour or so for your website to propagate, Google ‘website propagation’ if you’re not sure what that is. When the domain check comes back fine, move to the next step.
- Click on ‘Show advanced options’, enter your blog name in the ‘Site name or title field’, create your admin username (you will use this to login to your website. It will also be displayed on your blog if this user creates content – posts/articles). Assign an Admin user email and password, leave the ‘automatically create a new database for this installation’ box checked, accept the terms and conditions, and select ‘Install Now’
- You will see a progress bar appear, once it’s complete, click on ‘View credentials’, select ‘View’ to get your WordPress login credentials.
- Click on the admin url on your credentials page, or head to www.yourdomain.com/wp-admin to login to the back-end of your new WordPress blog.
Once you’re logged in to the back-end of your WordPress blog, we can move on to the next step.
Step Three: Select & upload a WordPress theme
The next step is to select a WordPress theme for your blog and upload it through your WordPress dashboard. A WordPress theme leverages the base functionality of WordPress to enhance the features and visual experience of your blog.
Select your WordPress theme: Here’s a few themes & theme marketplaces to checkout:
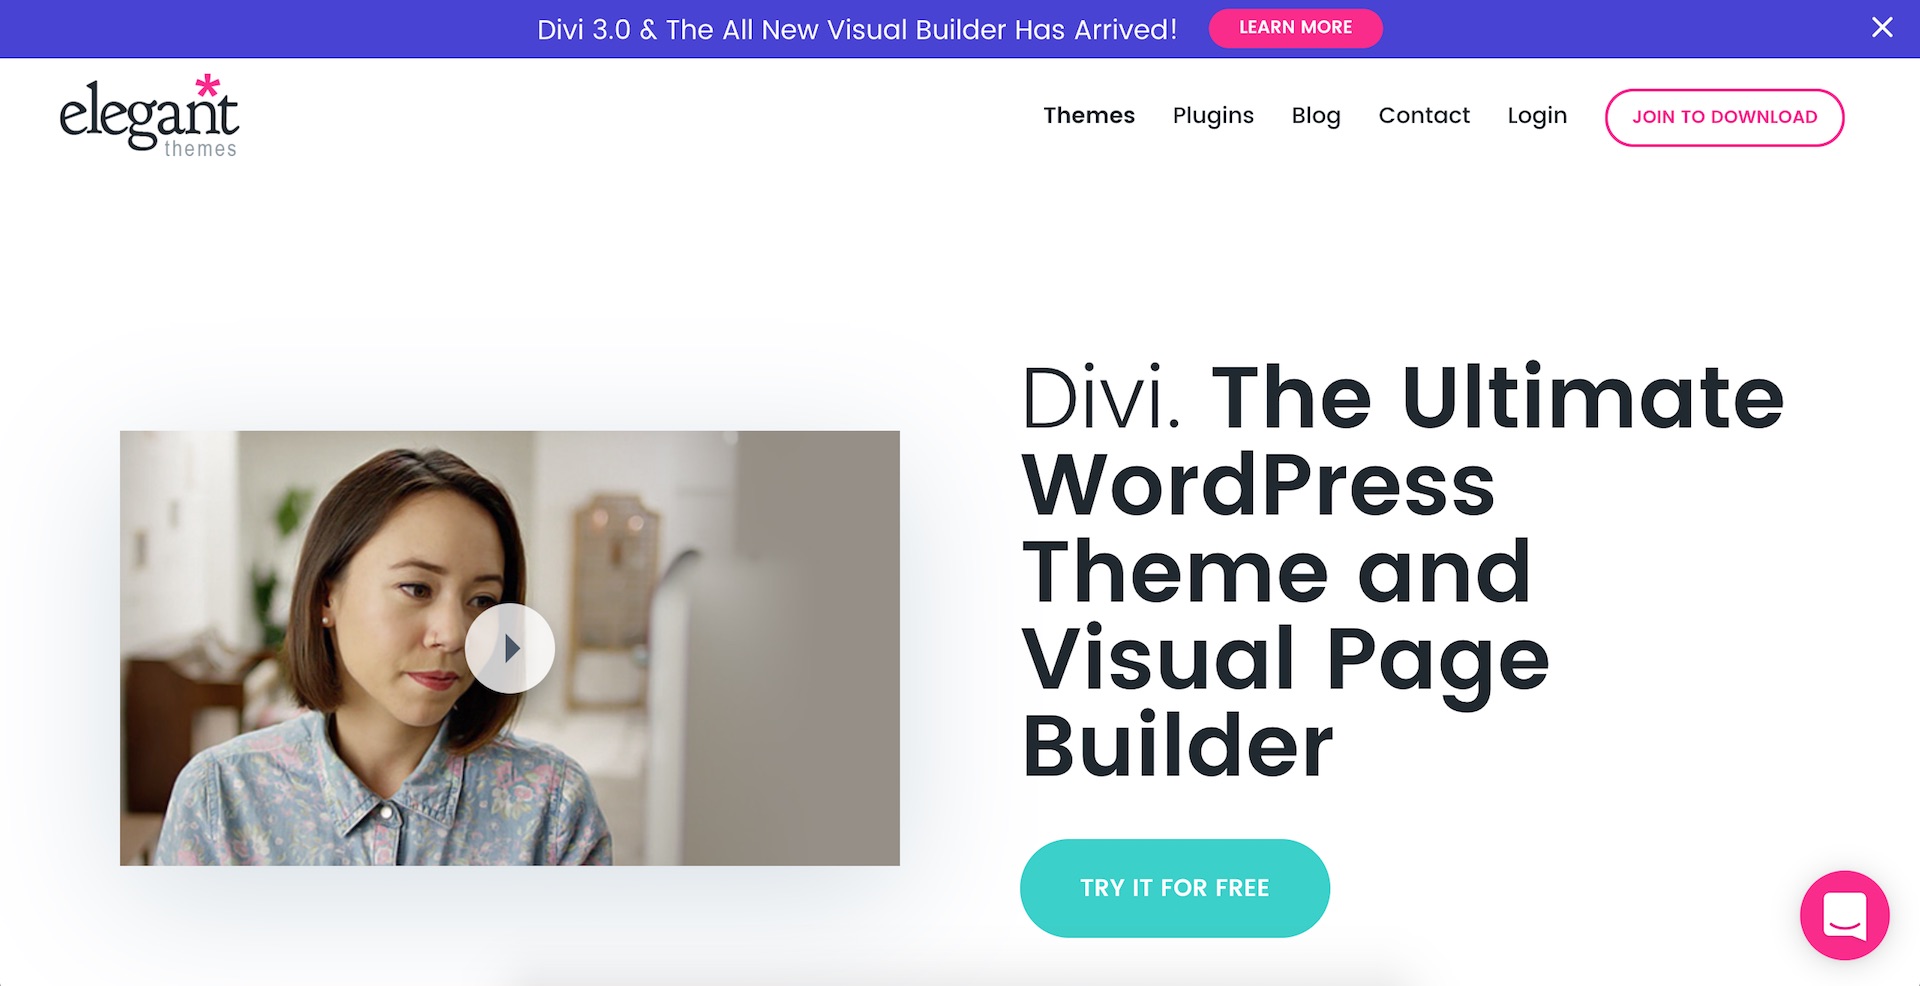
- Divi by Elegant Themes (checkout some of our free tutorials using this theme)
- Tesla Themes
- Themeforest
- Themeisle
- Studio Press
- Template Monster
- Themify
Upload your WordPress theme: Once you’ve purchased your WordPress theme and downloaded the theme file (usually a zip file), the next step is to upload it via your WordPress dashboard.
How to upload your WordPress theme:
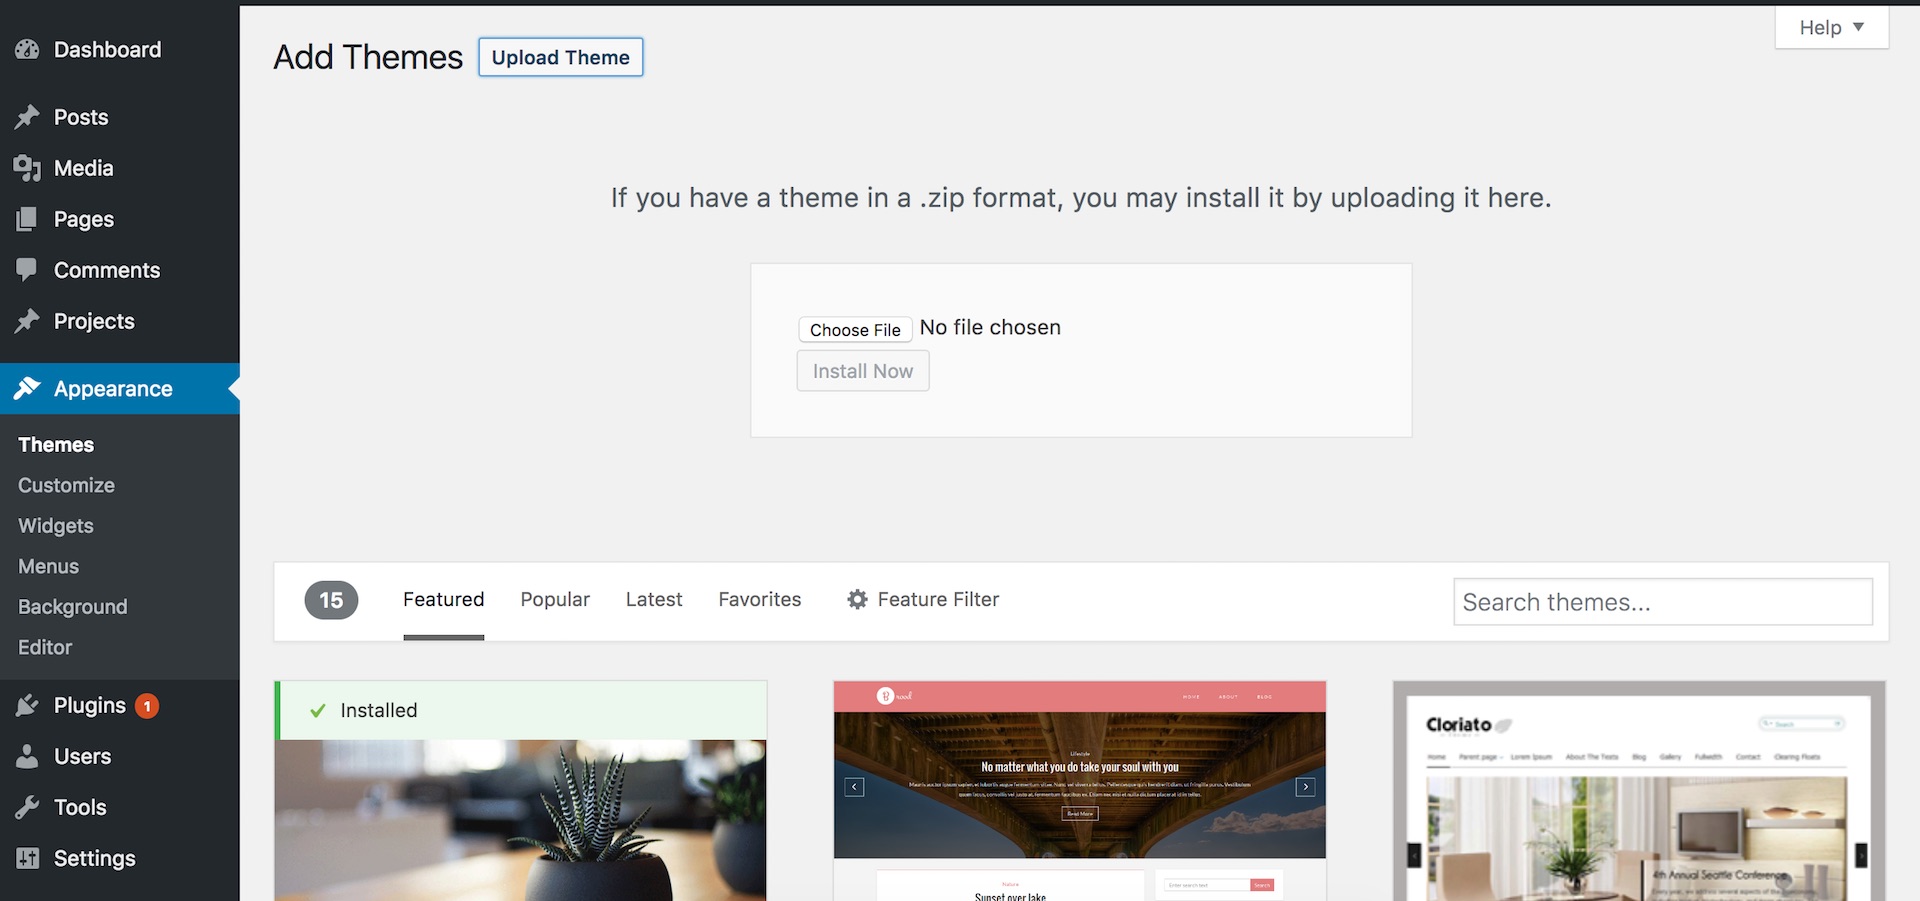
- From your WordPress dashboard, navigate to ‘Appearance’, then ‘Themes’
- Click ‘Add New’, then ‘Upload Theme’
- Select ‘Choose File’
- Navigate to find your theme file ‘theme.zip’, then select ‘Open’, and ‘Install Now’. (This may take a minute or so to upload)
- Once your theme has uploaded successfully, select ‘Activate’ & you’re good to go!
Step Four: Customize your blog content
Okay, you are now ready to upload and publish content to your blog. The two primary ways to publish content through your WordPress blog is via posts and pages.
Depending on which WordPress theme you purchased, the look, feel, and features may vary, but the core functionality is the same. It’s a good idea to review the theme specific documentation for the theme you purchased in order to become more familiar with your WordPress theme.
If you’re new to WordPress checkout one of our step by step video tutorials below: