In our how to make a website 2018 tutorial, we’ve enlisted the help of Morgan Freeman* to cover off the steps involved. We’ll show you how to make a website with WordPress in less than 5 minutes.
Here are the 3 steps to make a website:
- Set up domain, hosting, and install WordPress
- Choose and install your WordPress theme
- Customize your WordPress website
For this tutorial, we’ll use Bluehost as our hosting provider and get started using the Ultra WordPress theme. You can access discounts for each below.
BLUEHOST DISCOUNTULTRA WORDPRESS THEME
Watch it on YouTube: How to Make a Website 2018
Set up domain, hosting, and install WordPress
The first thing you will need to do is choose your domain name, secure your hosting account, and install WordPress. For this, we’ll use Bluehost as we can do this all in one step.
We recommend Bluehost as it’s a great cost-effective solution for beginners, with hosting from around $5-10/mth. They have an easy to use dashboard, and include a free domain.
Your domain, or url – is the web address for your online store, and is what users will type into their browsers to access your site. For OHKLYN, it’s ‘ohklyn.com’. Pick something that’s relevant and memorable.
Hosting – is what allows your online store to be accessible to users 24/7. It’s the process of storing the content and data of your eCommerce website on a web server, and serving it to users.
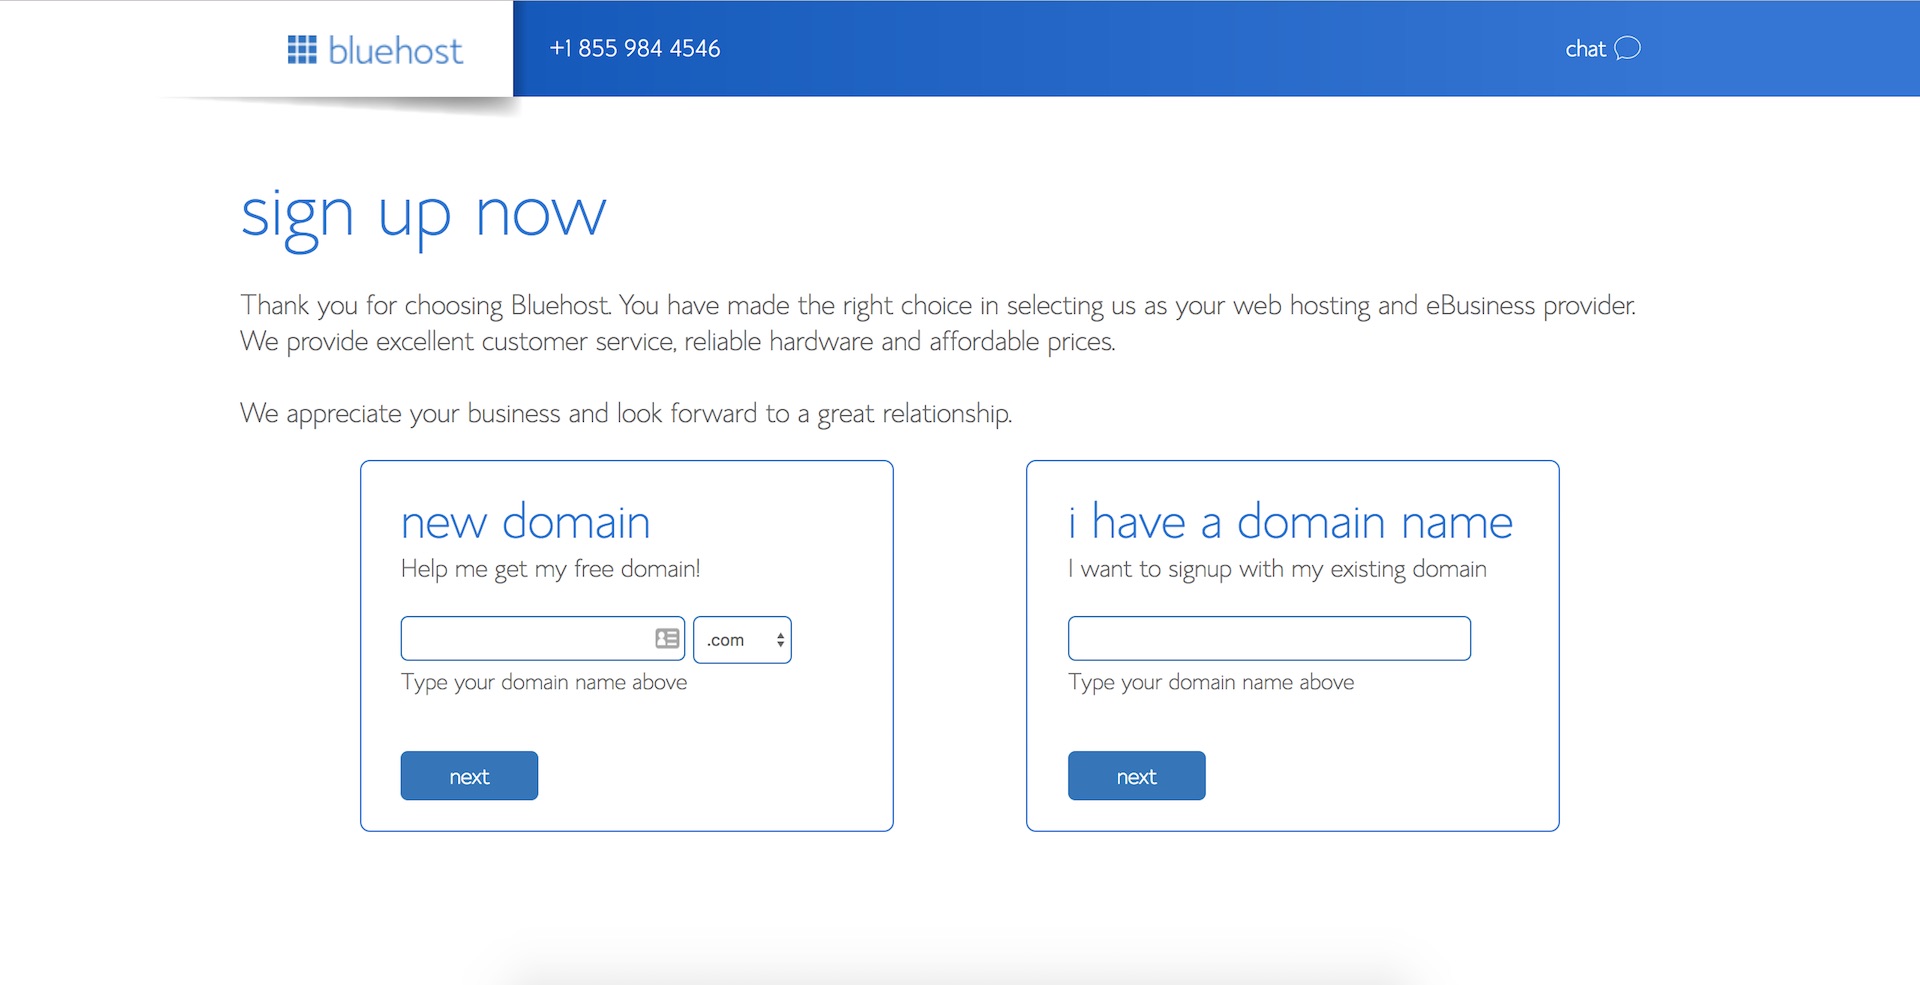
Bluehost – Getting started
Steps to register your domain & set up hosting:
- Head to the bluehost website (massive hosting discount up to 54% + FREE domain).
The free Bluehost domain extensions included are (.com, .online, .site, .website, .space, .tech, .store, .net, .org, .info, .co, .us, .biz, .club).
Note: If you want a specific top level domain (TLD) or country specific domain not listed above, you will need to purchase it through a domain registrar like GoDaddy or CrazyDomains. You will also need to change the domain nameservers or (DNS) records to point at Bluehost’s servers. Here are the steps on how to change domain nameservers to point at bluehost.
- Select ‘get started now’ for the plan you want (shared hosting will be fine for most users & you can always upgrade later).
- Choose the hosting plan that’s right for you, hit ‘select’.
- Either use your existing domain, or type in the domain that you want (it’s free), then hit ‘next’.
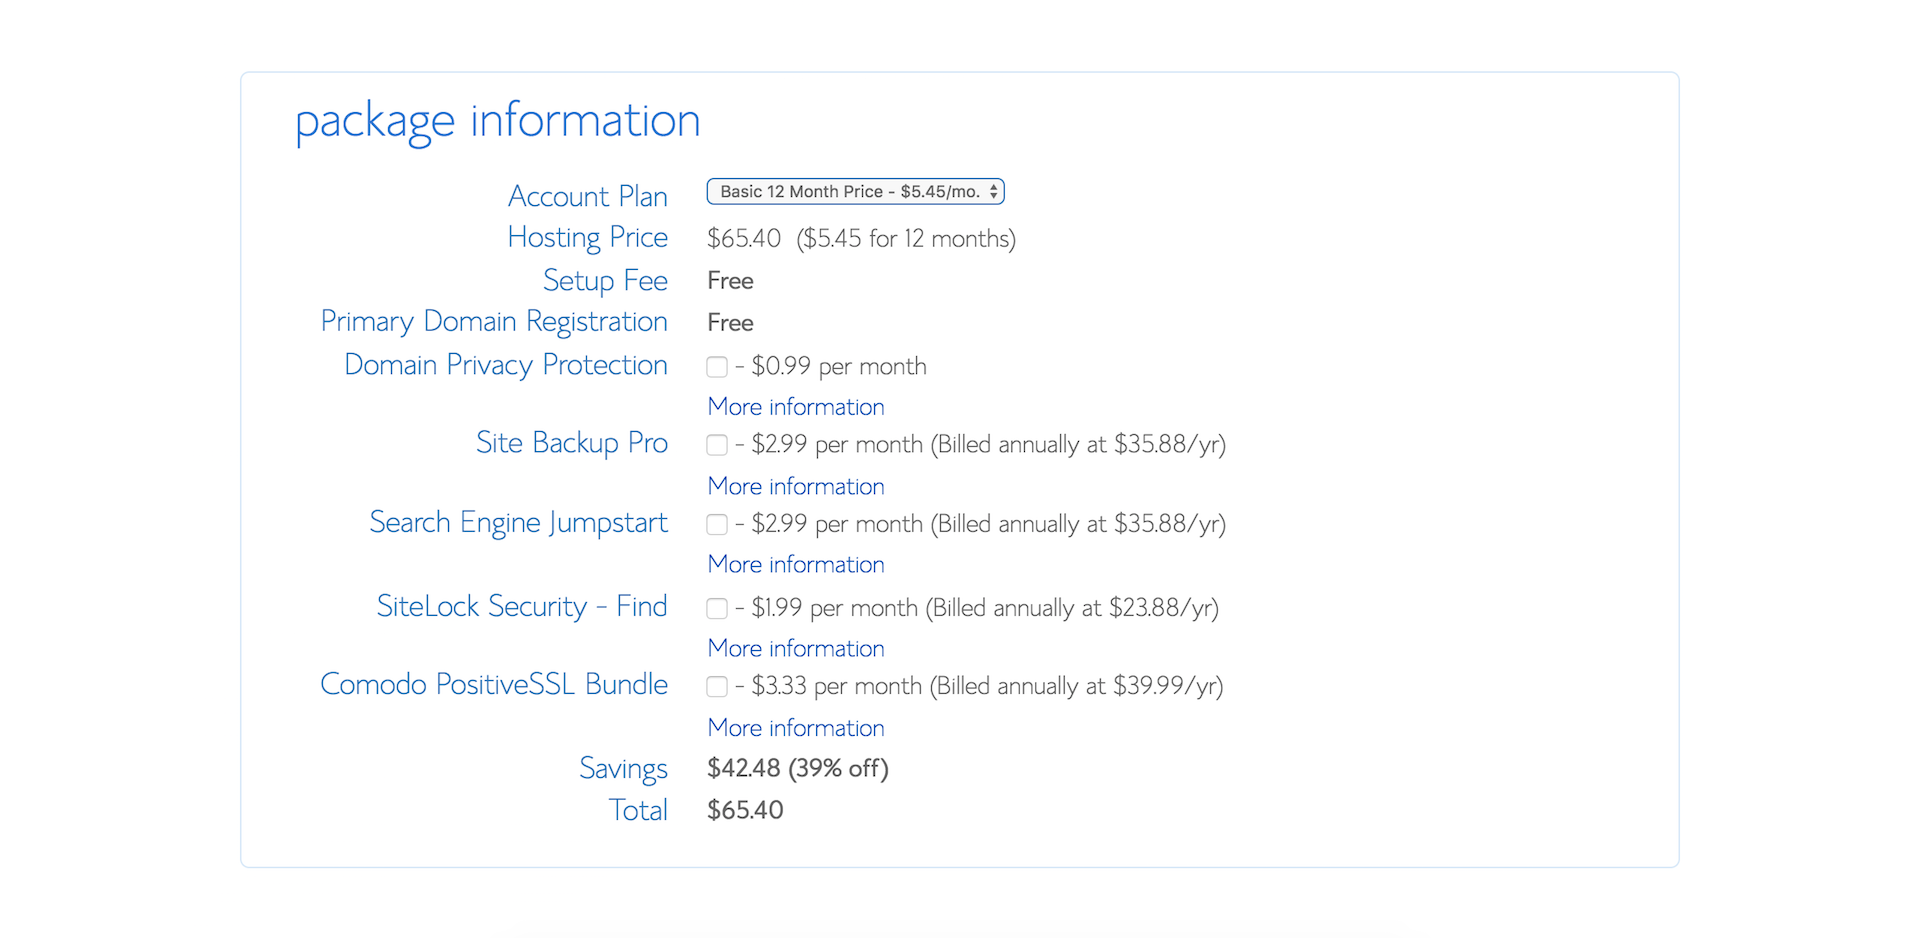
- Choose your desired hosting term and domain add-on preferences. We recommend selecting ‘domain privacy protection’ so that your personal information isn’t associated to your domain and publicly available (optional).
- Once you’ve chosen your desired options, enter your personal information, payment details, review the terms of use, and click ‘submit’ to move on to the installing WordPress.

Steps to install WordPress:
One of the reasons we love Bluehost is their easy to use One-click WordPress installation feature. In September 2017, Bluehost made the process of getting started with WordPress even easier. For new domains, WordPress is automatically installed for you so you can start building your site right away.
- When you see the ‘Congratulations’ message, click on login.
- You will be sent a verification email to the nominated email address for the account, which you will need to confirm.
- You can then set your password for you hosting account.
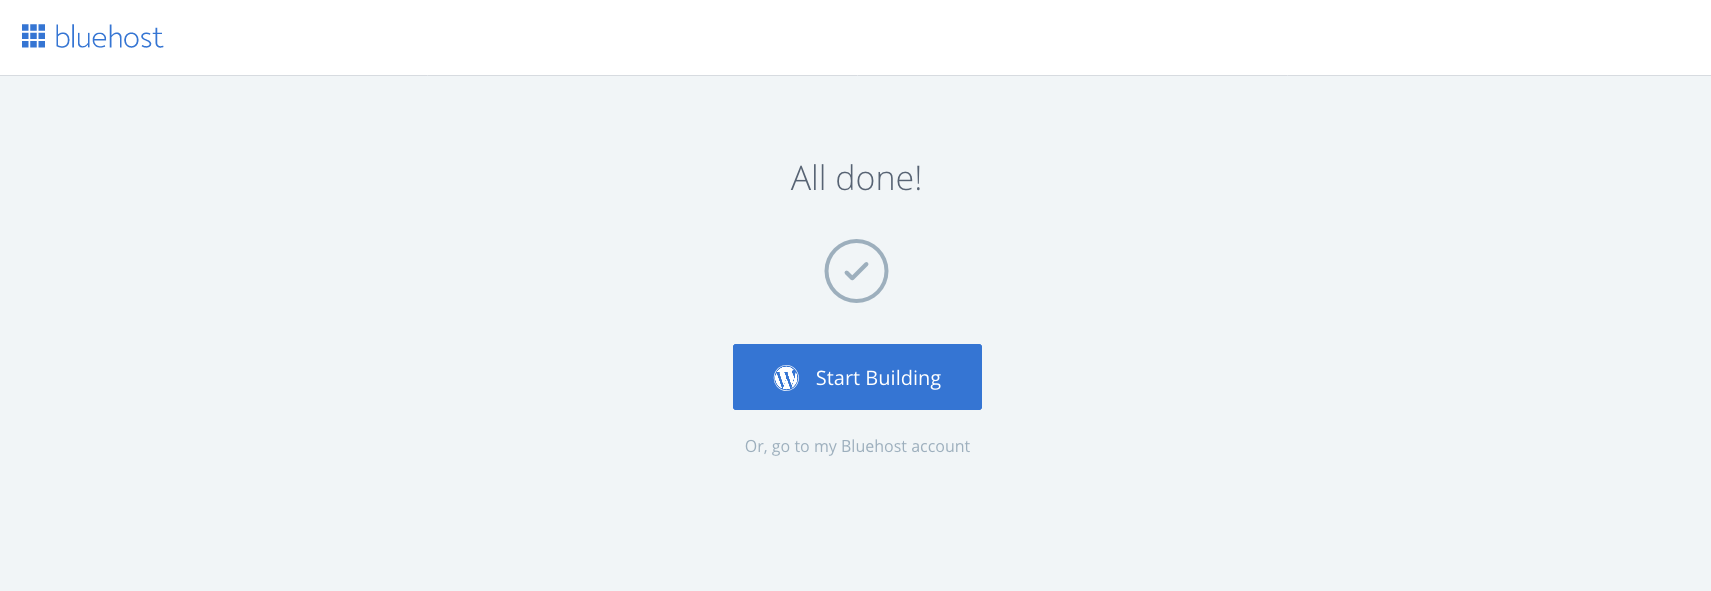
- Once you’ve done that, you will then be given the option to either ‘Start Building’, which will take you to the backend of your WordPress dashboard, or you can select to go to your Bluehost account.
Install WordPress for an existing domain via Bluehost
If you’ve purchased your domain elsewhere, you will need to change the DNS records for your domain via the domain registrar where you purchased your domain. Check out one of our detailed tutorials that walk you through this process:
- How to change GoDaddy nameservers to point at Bluehost
- How to change Domain Name Server (DNS) records to point at Bluehost
Congratulations! Once you’ve done that you’ll officially have a website! In the next few steps, we’ll go through how to customize your blog design and how to add content.
If you’re new to WordPress, we’d recommend reviewing our How to use WordPress article which is a free introduction to WordPress tutorial for beginners. Alternatively, you can check out the video below.
Choose and install your WordPress theme
A WordPress theme is a group of files that work with the underlying WordPress software to enhance the design and functionality of your WordPress website. For a more detailed overview check out our What is a WordPress theme article.
The theme we’ll be using is called Ultra by Themify. To access a 30% discount, subscribe to the OHKLYN newsletter. If you want to use an alternative theme, check out our WordPress theme reviews section of our blog.
Steps to upload and install a WordPress theme
Below are the steps to upload and install the Ultra WordPress theme. We’ve also created a seperate post and video on How to upload and install a WordPress theme that you can follow along with in more detail.
- Go to the Themify website, and purchase a copy of the Ultra theme.
- Navigate to the member area, and download the Ultra theme file.
- Once you’ve downloaded your theme (.zip file), from your WordPress dashboard, navigate to ‘Appearance’ > ‘Themes’, and choose ‘Add new’.
- Select ‘Upload theme’, click on ‘Choose file’, and navigate to the .zip file for your theme you want to upload.
- Hit ‘Open’, then ‘Install Now’. Once the theme is installed successfully you’ll get a confirmation message stating that the theme installed successfully.
- Select ‘Activate’, and you’re all set.
Customize your WordPress website
Now that the technical aspects are taken care of, it’s time to focus on content, design, and customizing your website to look exactly the way you want.
To customize the theme featured in this tutorial, check out the links to the step-by-step videos and guides below.
Ultra theme documention + tutorial videos
ULTRA THEME GUIDETHEMIFY BUILDER GUIDE
If you’re new to WordPress, we’d recommend reviewing our How to use WordPress article and video, which is an introduction to WordPress for beginners. It will show you everything you need to know from configuring your WordPress settings, to creating pages, posts and managing menus and widgets.
Hopefully, you’ve learnt the fundamentals of how to make a website in 2018. For a more detailed video tutorial on how to create a website or blog with WordPress, then check out our Free WordPress Tutorials. And either get busy building, or get busy dying.
*Disclaimer: In no way does Morgan Freeman (the actor) endorse or support this tutorial.