In this article, we’ll go through the process of uploading and installing a WordPress theme on your WordPress website. This is a relatively straightforward step-by-step guide that will cover both adding free themes through the WordPress theme repository, and premium themes from other providers and marketplaces.
A WordPress theme is a group of files that can be installed on your WordPress website to dramatically enhance the design and functionality of your website. There are both free themes and premium themes that you can leverage to get the most out of WordPress.
You can install a free WordPress theme from the WordPress theme repository, or you can upload and install a premium WordPress theme via your WordPress dashboard. In this article, we’ll cover off both options, as well as provide you with references for where to find the best WordPress themes for your website or blog.
So, let’s get started.
If you haven’t installed WordPress yet, review our how to use WordPress article which covers of the fundamentals and getting started. You can access discount hosting below. We recommend Bluehost for beginners.
BLUEHOST DISCOUNTWP ENGINE DISCOUNT
Here’s a summary of what we’ll cover in this article:
- How to install a free WordPress theme from the WordPress theme repository
- How to upload and install a premium WordPress theme
For help picking your own theme, read the How to Choose a WordPress theme article on the OHKLYN blog.
How to install a free WordPress theme from the WordPress theme repository
For this section, you can use any free WordPress theme from the WordPress repository by following the exact same steps.
Steps to install a free WordPress theme
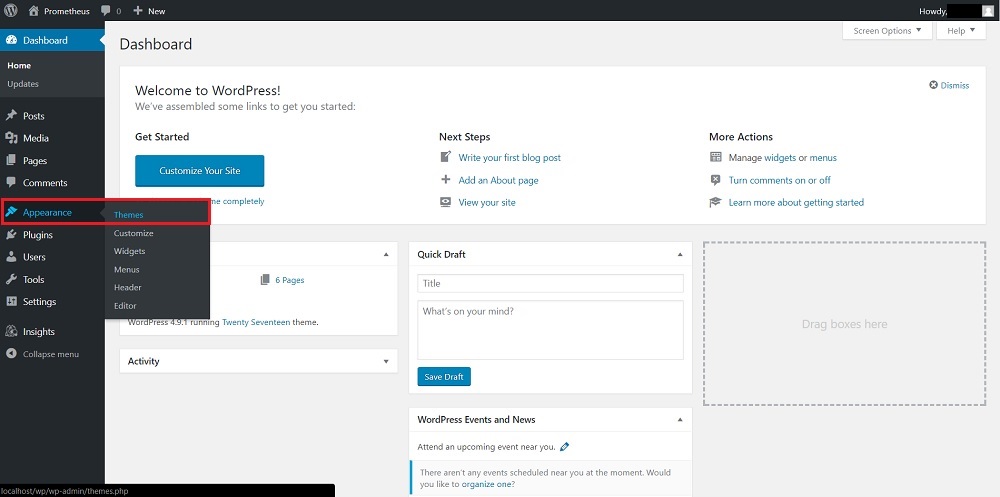
- Login to your WordPress dashboard.
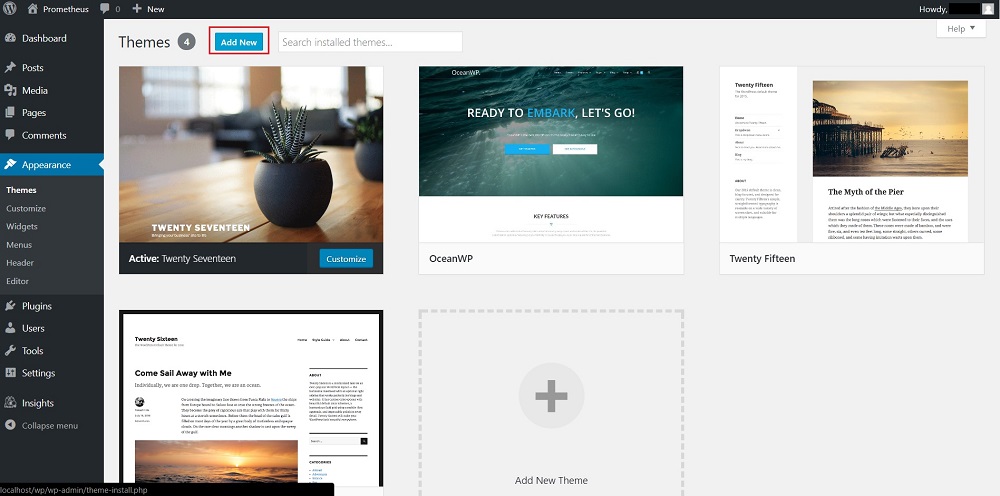
- Then, hover over Appearance and go to Themes. This is where you’ll manage the active theme for your website. By default WordPress installs a number of themes already. From here, you can preview or activate themes already downloaded to your WordPress website.
- Click the ‘Add New’ button next to the ‘Theme’ heading. The page will now be populated with free themes from the repository.
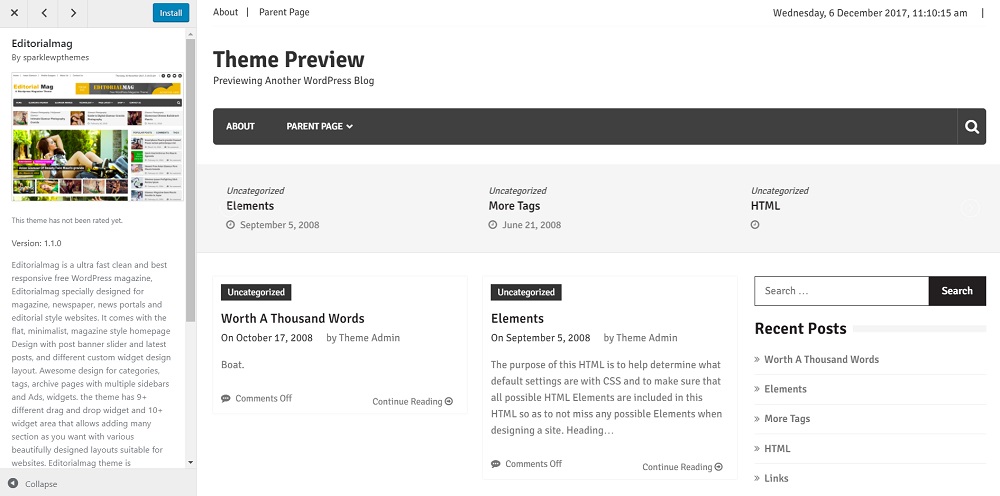
- You can search for a specific theme in the search box or browse the tabs. You can preview themes and navigate between them at the same time.
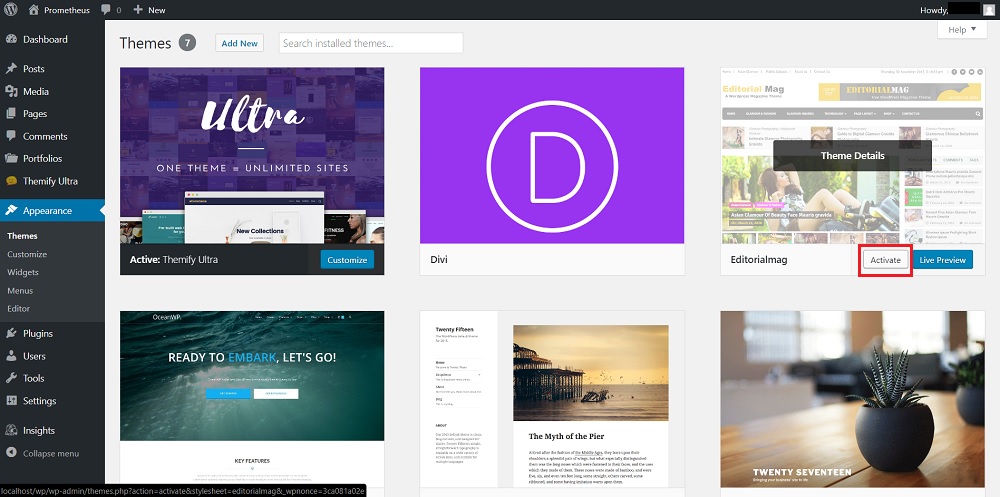
- When you have chosen a theme you want to use, hit the install button. Give it a moment to install, then select activate, either directly from the repository, or go to your theme library and activate it from there.

And, that’s it! Once you activate the theme you can preview your site or login as a user and you will see your new theme in action.
How to upload and install a premium WordPress theme
The process will be the same for any premium theme, however the end result will vary greatly depending on the theme you use. We have chosen Ultra and Divi as our benchmark themes, because they are two of the best and most widely used premium WordPress themes. Check out our theme reviews section on the OHKLYN blog for other great premium themes.
Steps to upload and install a premium WordPress theme
- Head over to either Elegant Themes or Themify, or the theme provider you choose to use. Whichever option you go with, sign up, provide your payment information, and log in to the dashboard or member area.
- There should be a list of all the themes that are available to you. Download either the Divi or Ultra theme, whichever one you chose. Pay attention to where the .zip package is downloaded.
- Login to your admin dashboard on WordPress and go to Appearance > Themes. Then click the Add New button.
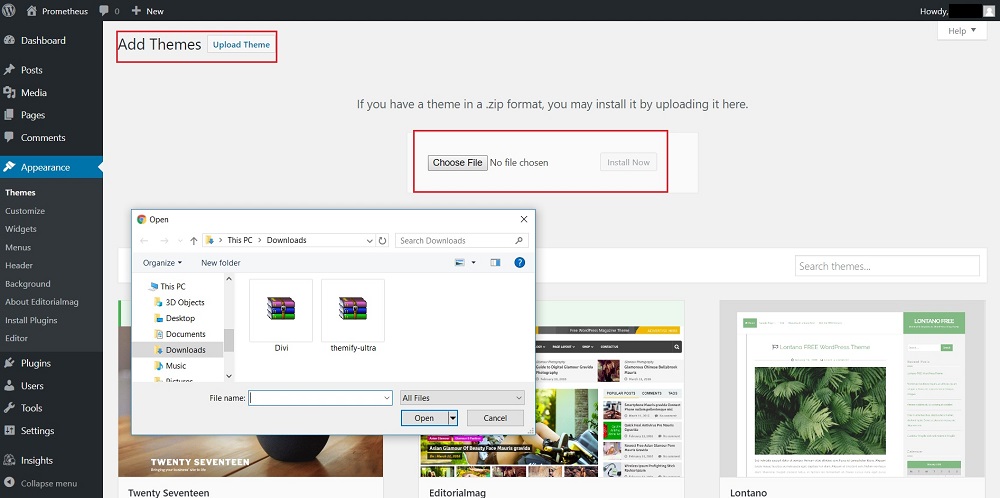
- Instead of using the repository, click the “Upload Theme” button at the top of the screen. Click on the “Choose File” button that appears.
- Navigate to where the theme package was downloaded and select the ‘.zip’ file you downloaded. The “Install” button should now be enabled. Click it to start the installation.
- A new page will open that will notify you when the theme has finished installing. You can now hit the Activate button to set your new theme.
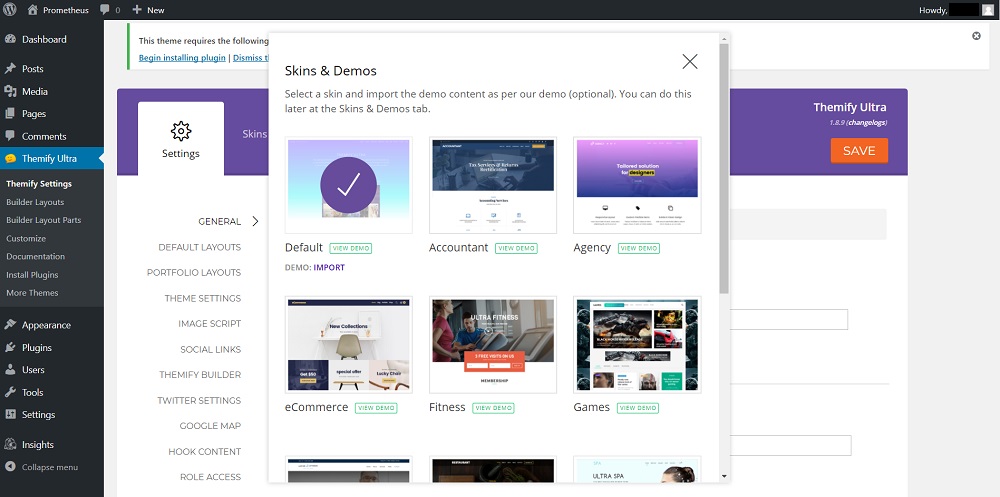
- Ultra might require you to install a plugin to work. Don’t worry. You only need to follow the link and click install on the next page. Remember to activate it in your Plugins window.
There you have it!
Congratulations, you now have the skills to access all the design and features available to the WordPress community via WordPress themes.
We hope that you have found this guide useful, and that it brings you another step closer to creating your perfect WordPress website.