In this article, we’ll show you how to install the free Bluehost SSL certificate for your WordPress website, and explain why HTTPS matters. HTTP stands for HyperText Transfer Protocol, and HTTPS is the secure version of this protocol.
Prior to the start of 2018, Bluehost updated their hosting dashboard where you manage your domains, DNS, and install WordPress. This article will go through the steps of how to add an SSL certificate to your domain via Bluehost’s new dashboard.
Here’s what we’ll cover:
- What is an SSL certificate
- Why HTTPS matters
- Steps to install free Bluehost SSL certificate for WordPress
What is an SSL certificate?
SSL stands for Secure Socket Layer and is a protocol that leverages cryptography to create a secure connection between a client and the server, allowing the transfer of sensitive information. This is achieved through a process of authentication, which leverages an encryption algorithm and cryptographic keys.
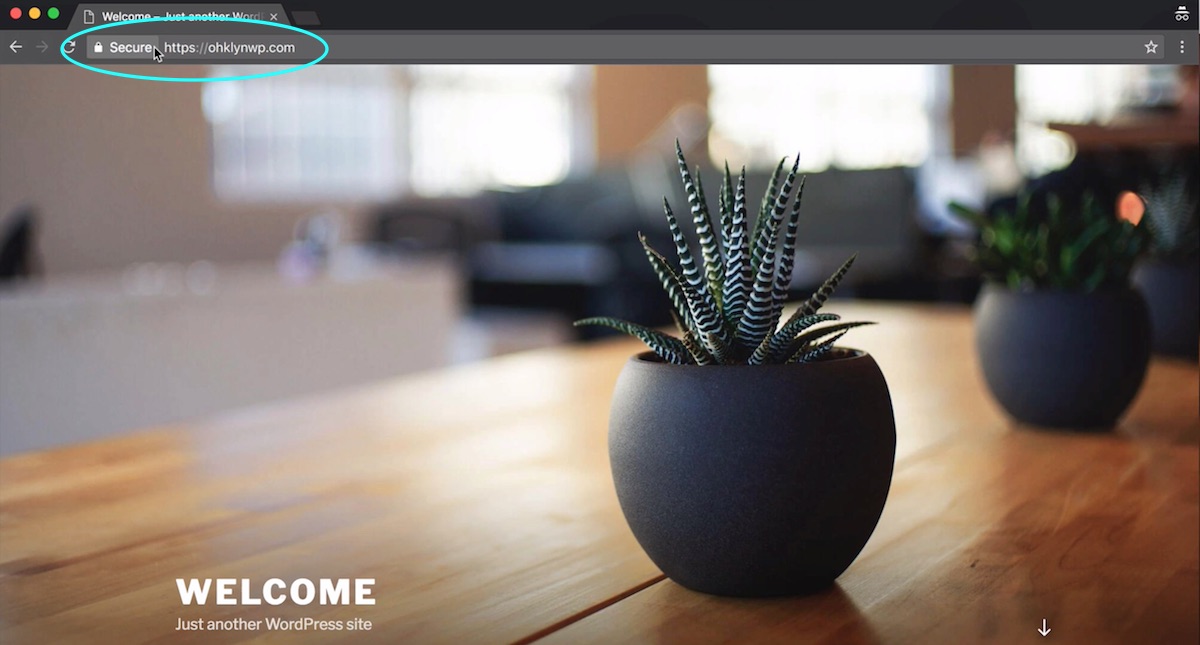
Users are able to determine if a website is using an SSL certificate by observing the padlock icon in the URL bar of their browser. Consumers have become relatively savvy in respect to looking for this information before entering their personal and payment information online.
Therefore, if you intend to capture any personal information on your website, it would be wise to ensure you’ve enabled your SSL certificate.
Why does HTTPS matter?
As outlined above, an SSL certificate secures the information on your website, which enhances the credibility and trustworthiness of your site. Similarly, by leveraging data encryption, your website is also less likely to be targeted by hackers.
From an SEO and indexing perspective, Google has favored secure or HTTPS websites for quite a while now. However, in late 2017 they made an announcement that the Chrome browsers would now display a ‘not secure’ warning against a website that isn’t utilizing HTTPS where a contact form or information capture is present.
So, if you intend to include any type of form, newsletter signup, or any other type of information capture, you’ll want to install an SSL certificate.
Steps to install free Bluehost SSL for WordPress
One of the great features of Bluehost is that you get access to a free SSL certificate for your WordPress website. Follow the steps below to add your SSL certificate to your domain. If you haven’t set up your hosting account yet follow the link below to get access to discount hosting and a free domain.
Here’s how to install your free SSL certificate with Bluehost:
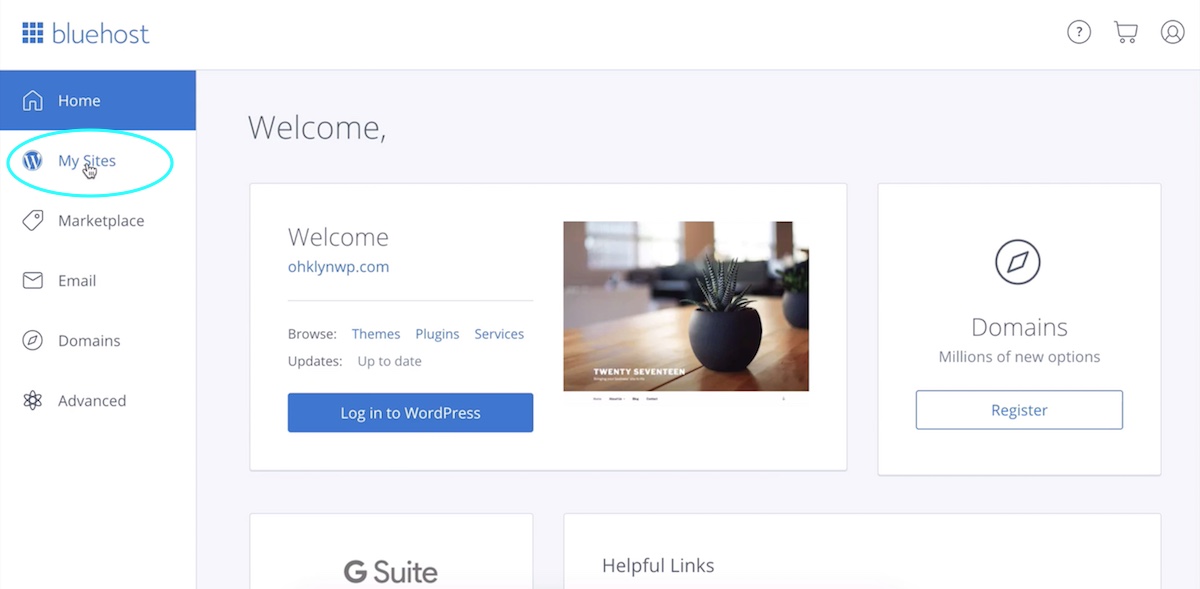
- Log into your Bluehost dashboard
- Select ‘My Sites’ from the menu on the left
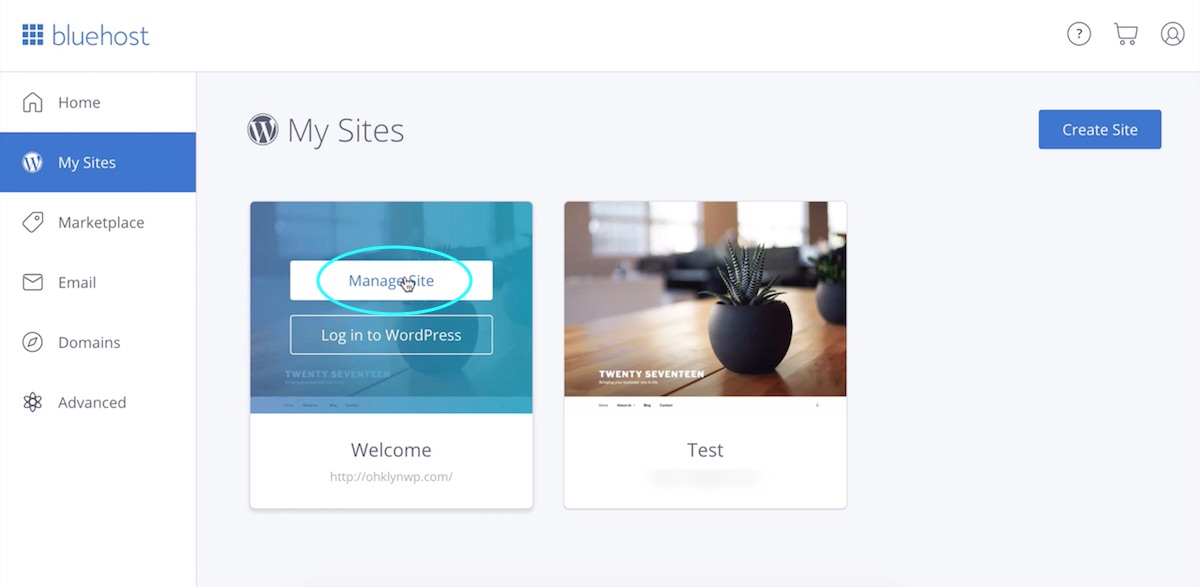
- Click on ‘Manage Site’ for the domain you want to install the SSL certificate on

- Navigate to the ‘Security’ tab
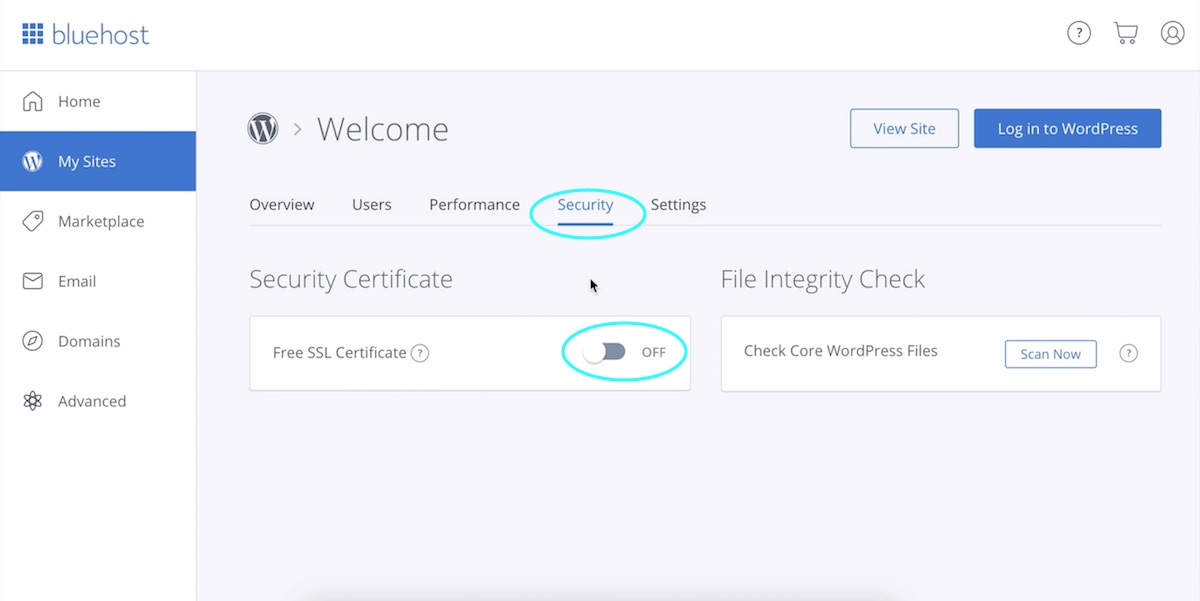
- Turn ‘On’ the free SSL certificate
- The status will change to ‘In Progress’ while your SSL certificate is being installed. This typically takes about an hour
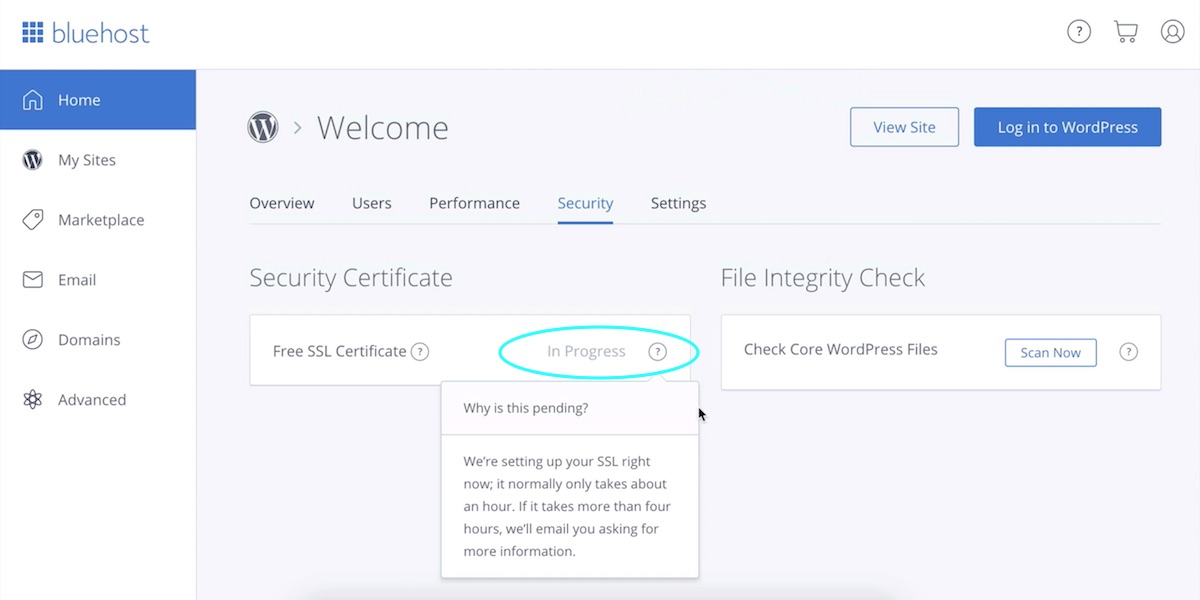
- Once your SSL certificate is installed, the status will change to ‘On’
- Enter HTTPS to the front of your domain, and you’ll notice that you’re SSL certificate is activated and your website is secure
And that’s how to install the free Bluehost SSL certificate for your WordPress website.